How to Install Floating Shelves Using a DIY Kit
This post is sponsored by National Hardware. All opinions are 100% my own.
Floating shelves are a great way to add style and storage to a space, especially small spaces! Installation can feel a little intimidating but it’s easier than you think! This post explains how to get floating shelves installed in no time with a DIY Kit from National Hardware.

What Are Floating Shelves?
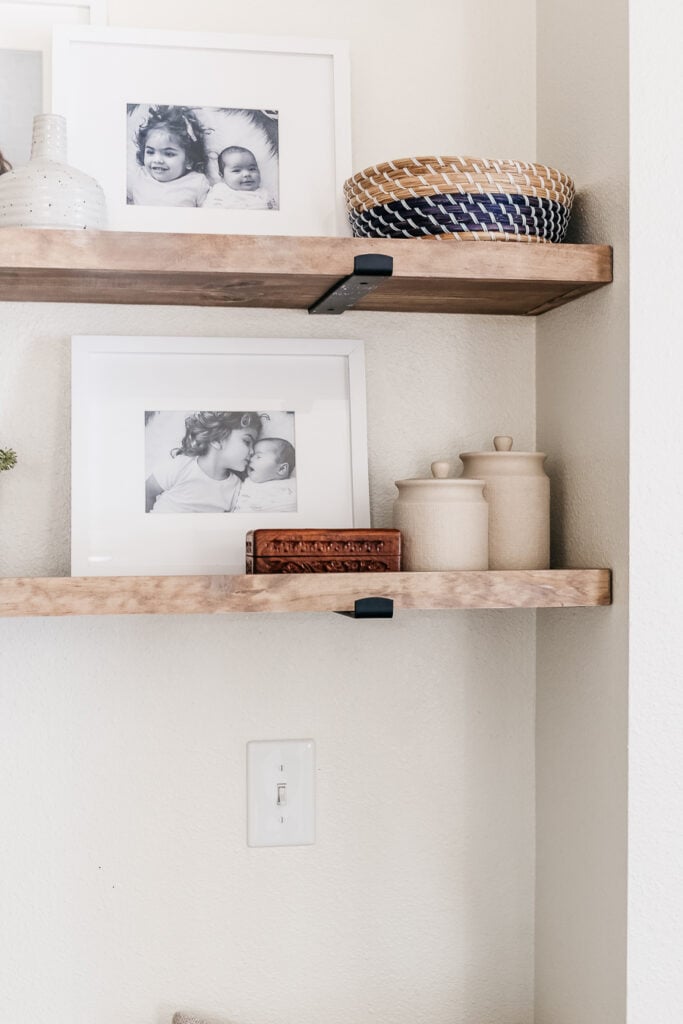
Floating shelves are shelves that are held up by brackets that you cannot see. Sometimes those brackets are completely invisible to the eye because the shelf is hollow and the brackets go inside the shelf. Other “floating” shelves are held up by brackets that are very low profile you barely notice they are there. Those are the floating shelves I used in this tutorial. The brackets are an “L” shape and are attached to the wall but are hidden by the items that you put on the shelves.
Ways to Use Floating Shelves
Floating shelves are a great way to transform a wall from boring to beautiful. There are many creative ways to hang floating shelves that are visually pleasing to the eye. Not only are floating shelves great design elements, but they are also functional. Using floating shelves is a great way to utilize vertical wall space for storage and decor.
Where to Hang Floating Shelves
Floating shelves are great for everywhere! Some ideas include in a bathroom above a toilet for holding toiletries or decorative objects. Above a desk in a corner is a great place to create a corner shelving situation. A living room or entryway is another option for hanging floating shelving. In a kitchen in place of some upper cabinets is another popular place to add floating shelves.
How to Style Floating Shelves

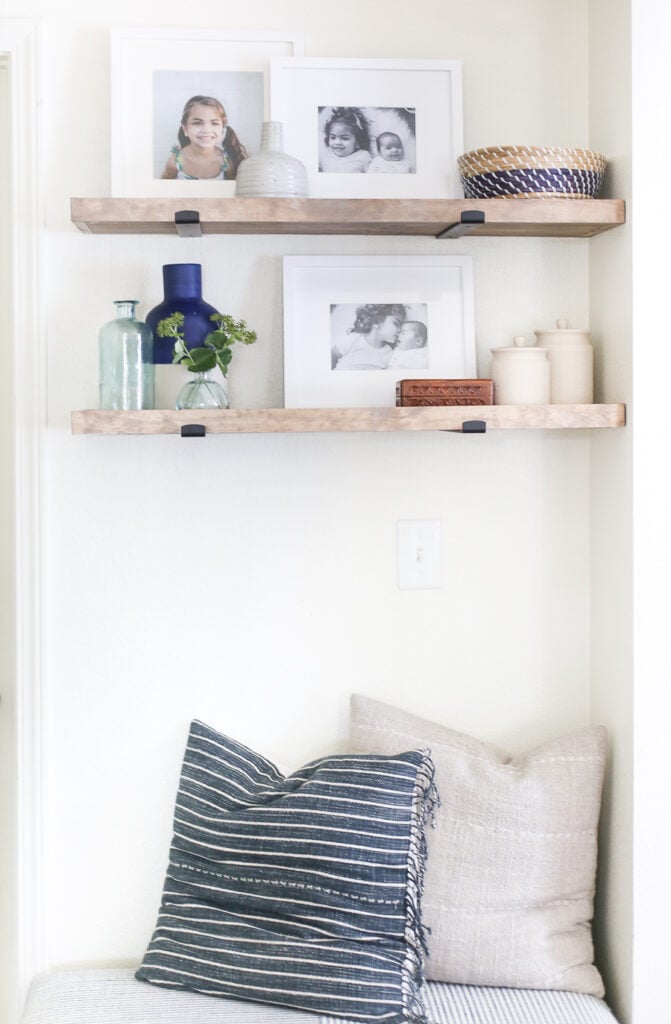
Styling is the best part of installing floating shelves. These floating shelves are hung with a concealed bracket and are a great option for storage or displaying decor. Since these shelves have low-profile brackets, they need to be hidden by decor or storage items. Decorating the shelves is as simple as adding meaningful pieces. I like to decorate using groups of threes. You can see above that I use three vessels on either side. I used leaning picture frames to hide the brackets.
Installing Floating Shelves
Using a Floating Shelf Hardware Kit


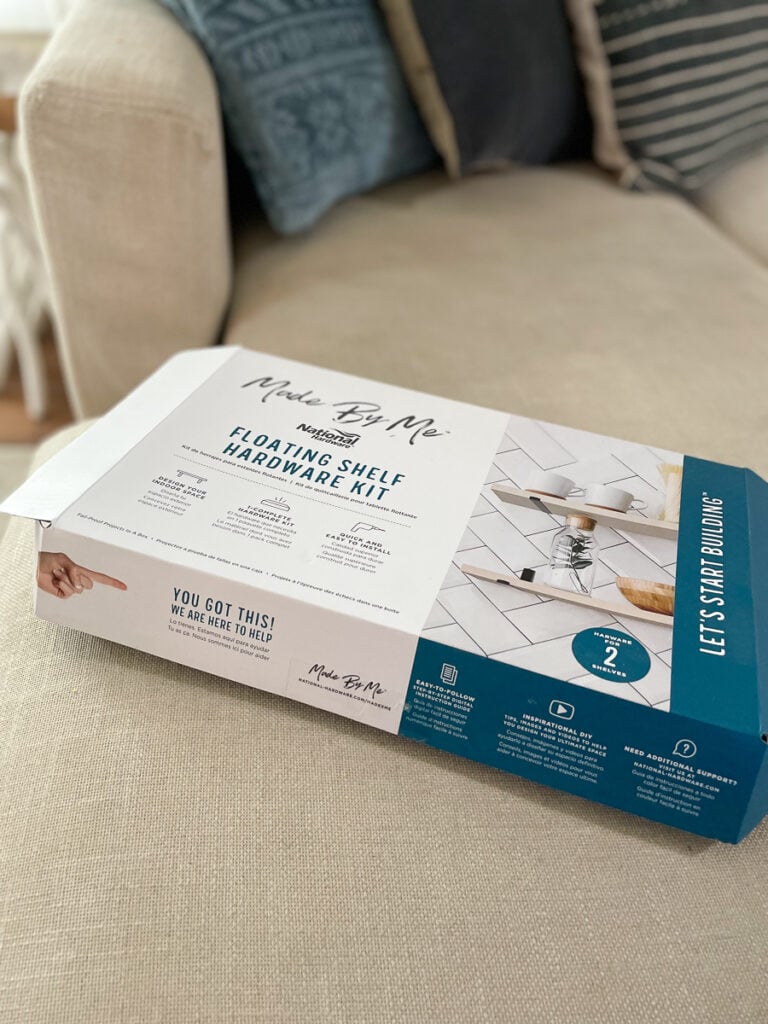
The Made by Me kit comes with all of the hardware you need to install your floating shelves, easy-to-follow instructions, and they have tips and inspiration available on their website as well. Each kit comes with enough brackets (2) and hardware for one shelf. I used two kits to install two floating shelves.

Floating shelves are a very fast and easy way to update a space and add some style without a lot of effort or money. We had a really boring little nook near our laundry room and after our laundry room makeover, it was a little sad that this space was so uninviting and bland. I knew it would be a great contender for some floating shelves. I considered doing floating shelves the height of the wall but this is a high traffic spot and I didn’t want anyone bumping their knees on shelves so I ended up doing two floating shelves hung a bit above eye level with a bench below.

Hardware Installation Tips
Installation these floating shelves was a breeze because all the supplies we needed came in the kit all I needed was a drill. Matt helped me out with the laser level (not required). The trick to how high to hang your floating shelves is about eye level. These are probably a little high but since we regularly come in and out of the door directly to the left of these shelves I wanted them a bit higher so nobody grazed a body part on the way in the door. To hang them at eye level the space between your two shelves would be at eye level with the lower shelf being slightly below.

It took about 20 minutes to install all four brackets – once they were in it was just a matter of popping the shelves above. The brackets are 10 inches so if you’d like you can have a 1×10 cut to the size you’d like for shelves or you can build out a chunkier shelf as we did.

Building the Shelves
To build some faux chunky shelves for the DIY floating shelves, we used a few pieces of wood (1×2 to trim out a 1×8 board) cut to the size we needed. We mitered the edges of the 1×2 and attached it with wood glue and brad nailers.
I love the L-shaped brackets in black for a bit of contrast to the stained wood. To make them truly “floating,” I cover the brackets with decor like photo frames, plants, etc.

Final Thoughts
I love the look of our new DIY wall shelves and I’m so pleased with how easy they were to install with the National Hardware Made By Me Hardware Kit. I look forward to changing up these shelves seasonally and for fun!


