Pumpkin Painting Ideas – Ombre Pumpkins + More
Decorating for fall pretty much requires some kind of pumpkin. This post details the MHB community’s favorite ombre pumpkin tutorial as well as shares other pumpkin painting ideas.
I don’t wait for October to roll around before I start thinking about jack-o lanterns, painted pumpkins, and all the other fall things!
Why are pumpkins so cute? Whether you paint, carve, or leave them au natural, I love a pumpkin for fall decor. Decorating with pumpkins (real and faux) feels like the ultimate fall decorating flex. I bought a bunch of real ones at Trader Joe’s to decorate my porch and I bought some fake ones to decorate around the inside of my house. My only gripe about fall decorating is that the traditional fall colors of orange and brown aren’t my favorite and they definitely don’t work in my home.
I decided long ago that I would make my seasonal decor fit my style not the other way around. There are many ways you can decorate for fall with nontraditional colors and the most popular is probably the idea of painting pumpkins. I’m excited to share some of the best pumpkin painting ideas that include a slew of amazing DIY projects today including one that’s been a long time coming, my ombre pumpkins.
Pumpkin Decorating Ideas
The original ombre-painted pumpkins were seen for the first time on our fall mantel. I first painted ombre blue pumpkins a few years ago for my fall mantel in our old house. They were an instant hit around the internet and they still get a ton of attention on Instagram every year.
For some odd reason, I never did a proper tutorial the first go around. I made a new set of ombre pumpkins this weekend and photographed the process so I can finally share the ombre-painted pumpkin tutorial that’s about four years overdue.

Ombre Pumpkin Painting Tutorial
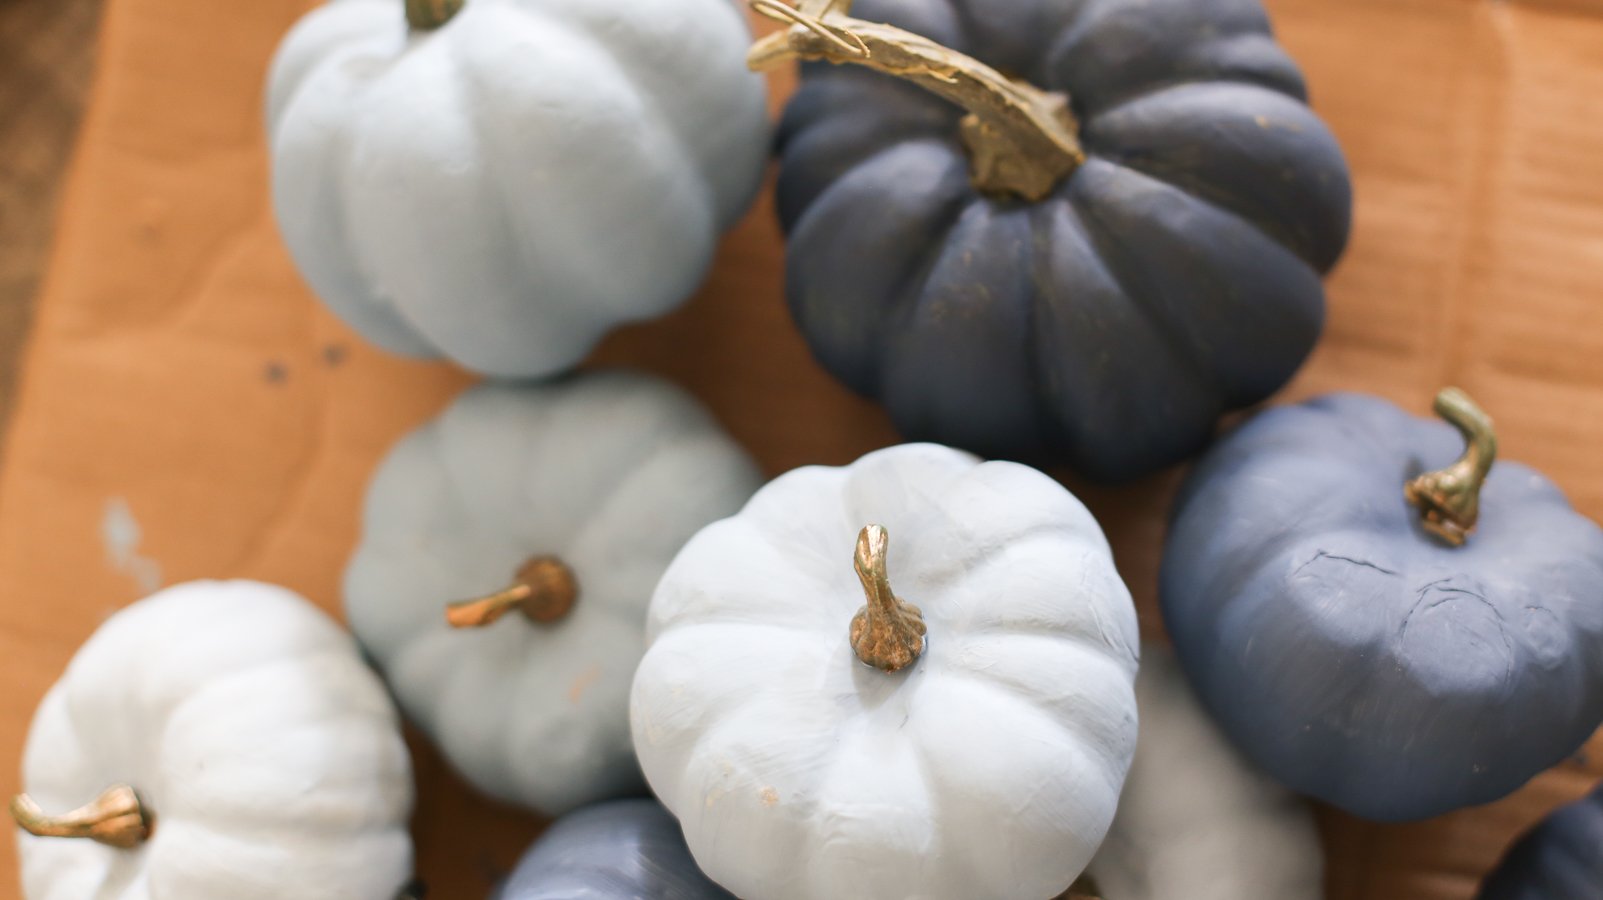
I purchased a dozen small fake mini pumpkins and gourds or craft pumpkins from Michaels in different shapes and sizes. These are the exact ones I purchased. It looks like these are available online but you won’t get to pick your variety which isn’t all bad because they are all pretty good shapes.

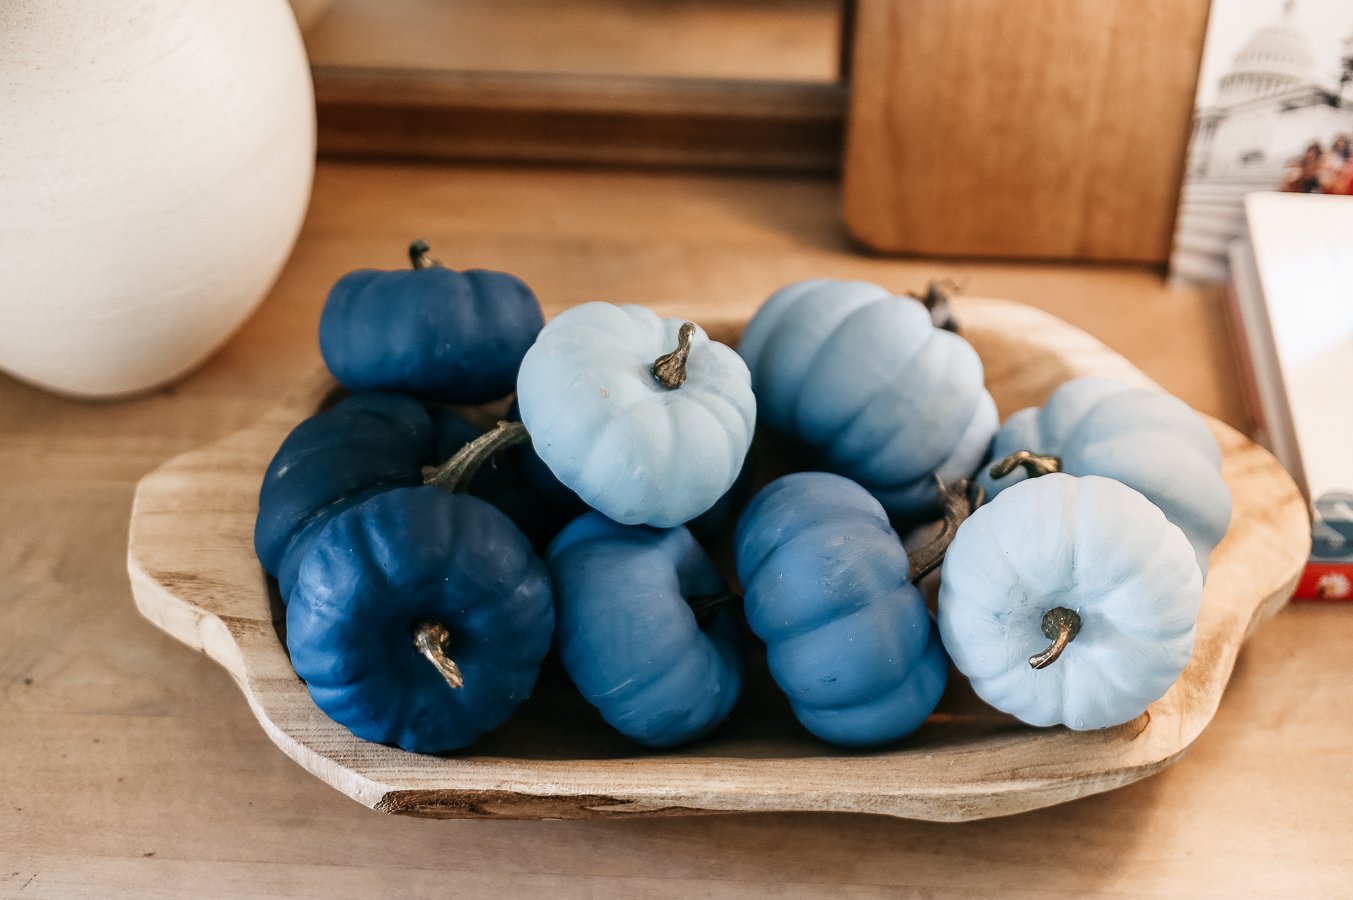
Obviously, I love the blue ombre look of these pumpkins but you can easily do a rainbow pumpkin set or you could go neutral and do a set of ombre white pumpkins with different shades of white and off-white. I think a set of pink pumpkins could be really cute too with some glitter! There are tons of options!
To get the ombre colors I used several colors and the very technical technique of mixing them together to make new colors as I went along. In all seriousness, this project is really very simple and requires zero technique other than mixing a little craft paint together. I used acrylic paint that has a matte finish.
Here are the acrylic craft paints I used:
DecoArt Americana Winter Blue
DecoArt Americana Sea Glass
DecoArt Americana Deep Midnight Blue
DecoArt Americana Snow White
You’ll also need a paint brush.
To get the ombre effect – you need a little strategy and zero technique. If you have 12 pumpkins you might want to do about 4-6 different shades of blue. Starting with the darkest color, paint a couple of pumpkins. Mix in a bit of the next darkest blue with the darkest blue, about one or two drops, for the second darkest shade.
For example, I used Deep Midnight Blue as my darkest color then mixed a little bit of Winter Blue into the Deep Midnight Blue for the next shade. The next lighter shade I did mostly Sea Glass with a squirt of Winter Blue. The next lighter shade was Sea Glass with a squirt of Snow White. Again, this doesn’t have to be precise – you just kind of mix colors until you get a shade you like.

Just know that you won’t be able to get the exact color again once you’ve mixed it so it’s a good idea to mix the colors in separate plates or bowls so that you can come back to it for touch-ups if needed.

I painted each pumpkin with just one coat and that seemed to be enough to get a solid color as the paint is pretty opaque. I did touch up in some spots. After each pumpkin, I allowed them to dry upside down resting on their stems if I left them in (I did pull out some of the stems – they go back in easily – to make painting easier but after a while, I left the stems in and used a smaller paintbrush to paint around the stem).

Once the pumpkins were dry, I popped the stems back in and bam they’re done. If the stems don’t fit nicely going back in use a hot glue gun to add a little dot of glue before putting them back in.

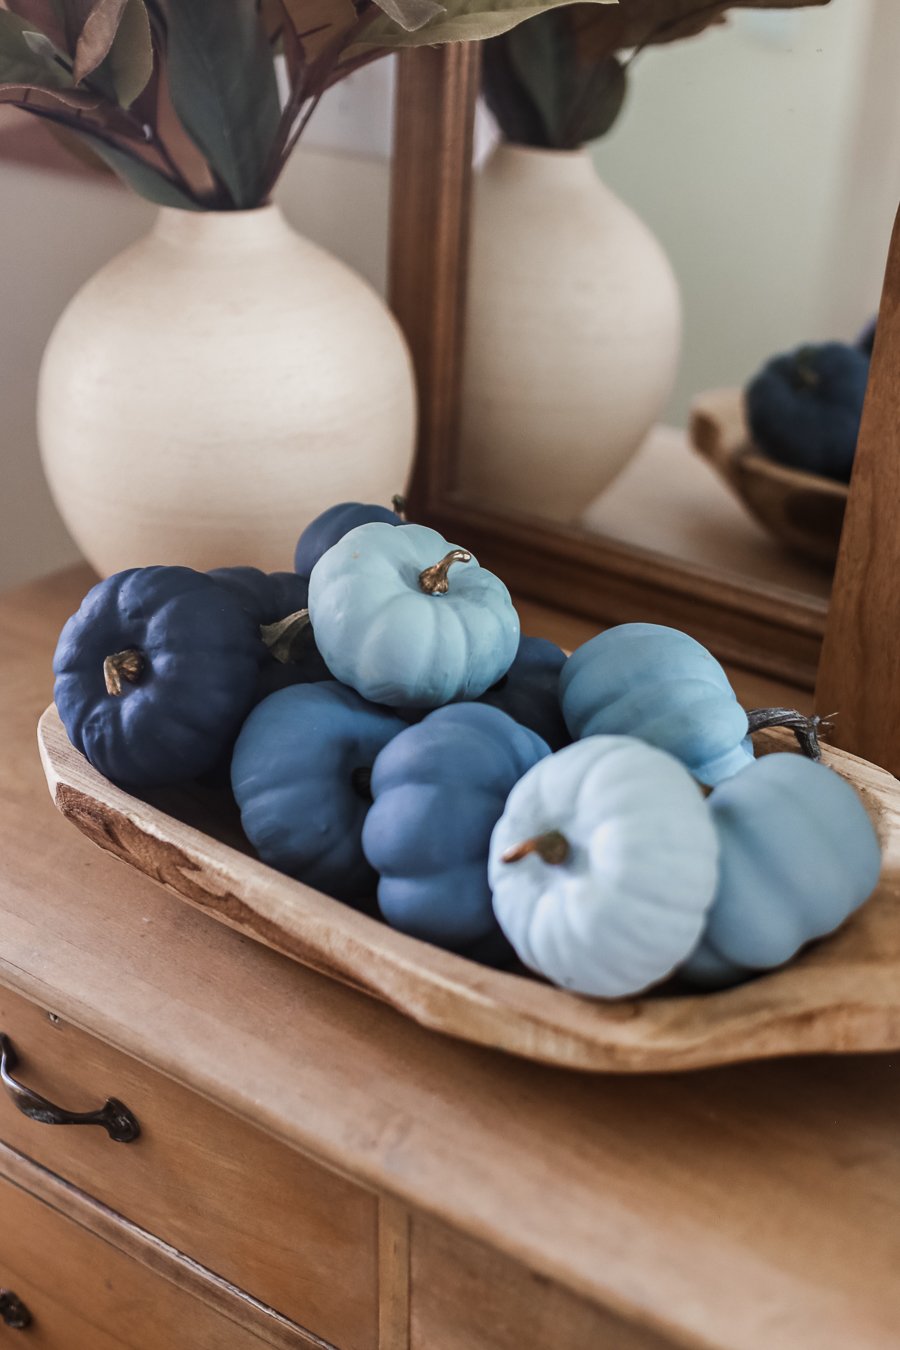
I love the matte finish on these pumpkins. This pumpkin painting project would be great on a mantel like I’ve shared before (see below). You can also use them as a centerpiece for Thanksgiving or as entryway decor as seen here.

These were the original painted pumpkins I did about four years ago to style my mantel.

The ombre pumpkins are still going strong and I can’t wait to use these for the next four years.

I love these ombre-painted pumpkins but I also wanted to point you in the direction of some other really cute painted pumpkin ideas that you might like to try this fall.
More Painted Pumpkin Ideas
I want to share some similar content to give you some more pumpkin inspiration. I love all these as fall or Halloween decorations. These are great alternatives to traditional Halloween pumpkins and you’ll have all the trick-or-treaters smiling this season. They are all easy pumpkin painting ideas that anyone could pull off.
Tone on Tone Checkered Pumpkins

These painted pumpkins are super cute. I love the tone on tone of the checked pumpkin the best. So chic, am I right? You could tie a ribbon to the stem for a little extra. She mixed faux and real pumpkins on her front porch but the painted ones are faux so they can be used year after year. So smart. To get this look you can use craft paint or even chalk paint for a more matte finish.
Marbled Painted Pumpkins

I thought these marbled pumpkins looked really cool. I’ve done something similar with Easter eggs. To get the marble effect you get to use a super interesting technique where you dip pumpkins in something kind of surprising. This would be a fun project to include the kids in. I’d love to try it on black pumpkins as well to create a galaxy pumpkin look! That would be super easy to do by using black spray paint before you marble the pumpkins. I bet that would turn out awesome!
Blue and White Buffalo Check Painted Pumpkins

Another adorable pumpkin to create. This one is another checked pumpkin but this is one of the blue varieties and I’m here for it. I love a blue gingham anything so give me all of the blue gingham painted pumpkins. This post has a great how-to so you can make one just like it!
You can easily do a more traditional buffalo check on this one by using gray and black paint. Additionally, you could use a paint pen to add your family name or house number to the pumpkin for some personalization. One trick to getting this to look as darling as the picture above is to stencil out your buffalo check out in pencil beforehand.
Beach Ball Painted Pumpkins

Lastly, this painted pumpkin idea was too clever not to share. Beach ball-inspired painted pumpkins! If I ever live in a true beach house I’ll be using this idea again and again.
If I had to choose what my favorite thing about this time of year is. It wouldn’t be the candy or the costumes, it wouldn’t even be the pumpkin carving. My favorite thing is most definitely the creative painted pumpkins that I see adorning porches everywhere! Please let me know what darling design you’ll be painting your pumpkins this year. Whether it’s glow-in-the-dark pumpkins, or pumpkins with a gorgeous pop of color now’s the time to get creative!
![DIY xo Wreath [Valentine’s Day Decor]](https://www.makinghomebase.com/wp-content/uploads/2014/02/xo-valentines-day-wreath.jpg)


