DIY Board and Batten Tutorial
When we updated our guest bath I knew immediately I wanted to add a board and batten wall treatment to give it a cleaner look. The bathroom itself wasn’t horrible, beyond the bland beige but I felt like it needed some more visual interest. When I told Matt about the board and batten project, he wasn’t quite sure what I had roped him into. I did a little searching for a board and batten tutorial – I found a few but none of them were exactly what I was looking for. We ended up taking a little knowledge here and there, then sort of winged it – this project isn’t majorly difficult so winging it isn’t that big of a deal 😉
Board and Batten DIY Tutorial
First, we didn’t use any other board for the “board and batten” – our walls have very minimal texture so we felt as though it wasn’t necessary to use the hardboard panels here. Also, we had installed new baseboards throughout when before we moved in so we didn’t want to remove the baseboards for this project. Instead, we used lattice molding for the panels. It’s only 1/4in. thick which was perfect for our baseboards.
Board and Batten Tutorial Supply List
For your convenience, this post may contain affiliate links. That means, at no additional cost to you, I may make a small commission on your purchase. Click here to read my full disclosure policy.
- Lattice Moulding (cut into 4 ft pieces)
- 1×4 pine board
- Ryobi Brad Nailer
- Level
- Behr Ultra White Paint
- Sherwin Williams Sea Salt (mixed into Behr Marquee – love the coverage)
(amounts and measurements vary on the size of project so I’m going to leave them out)

Before we started building the board and batten accent wall we had to prep the walls – I wiped them all down and filled any holes. Then we decided how much space we wanted between each panel – 16 1/2 in. was the magic number for us. 
We started on one end, Matt leveled the piece of molding and then using the brad nailer, he secured it to the wall. Then, I measured the 16 1/2 into the next piece.

We repeated that for all five pieces of lattice pieces. It took literally 10 minutes.

After putting up all the lattice molding, we added the 1×4 pine board to the top. Using a level to make sure it was super straight, then securing it with brad nails. 
After all the pieces were up we filled the holes. Matt went through and caulked all of the seams while I got started on painting.
 After the caulking was dry, we basically had our board and batten all that was left to do was paint. We painted the bottom using Behr Ultra White – it took about three coats. Then I painted the rest of the room with Sherwin Williams Sea Salt. The entire board and batten project was finished in an evening and then I finished up painting the room the following day.

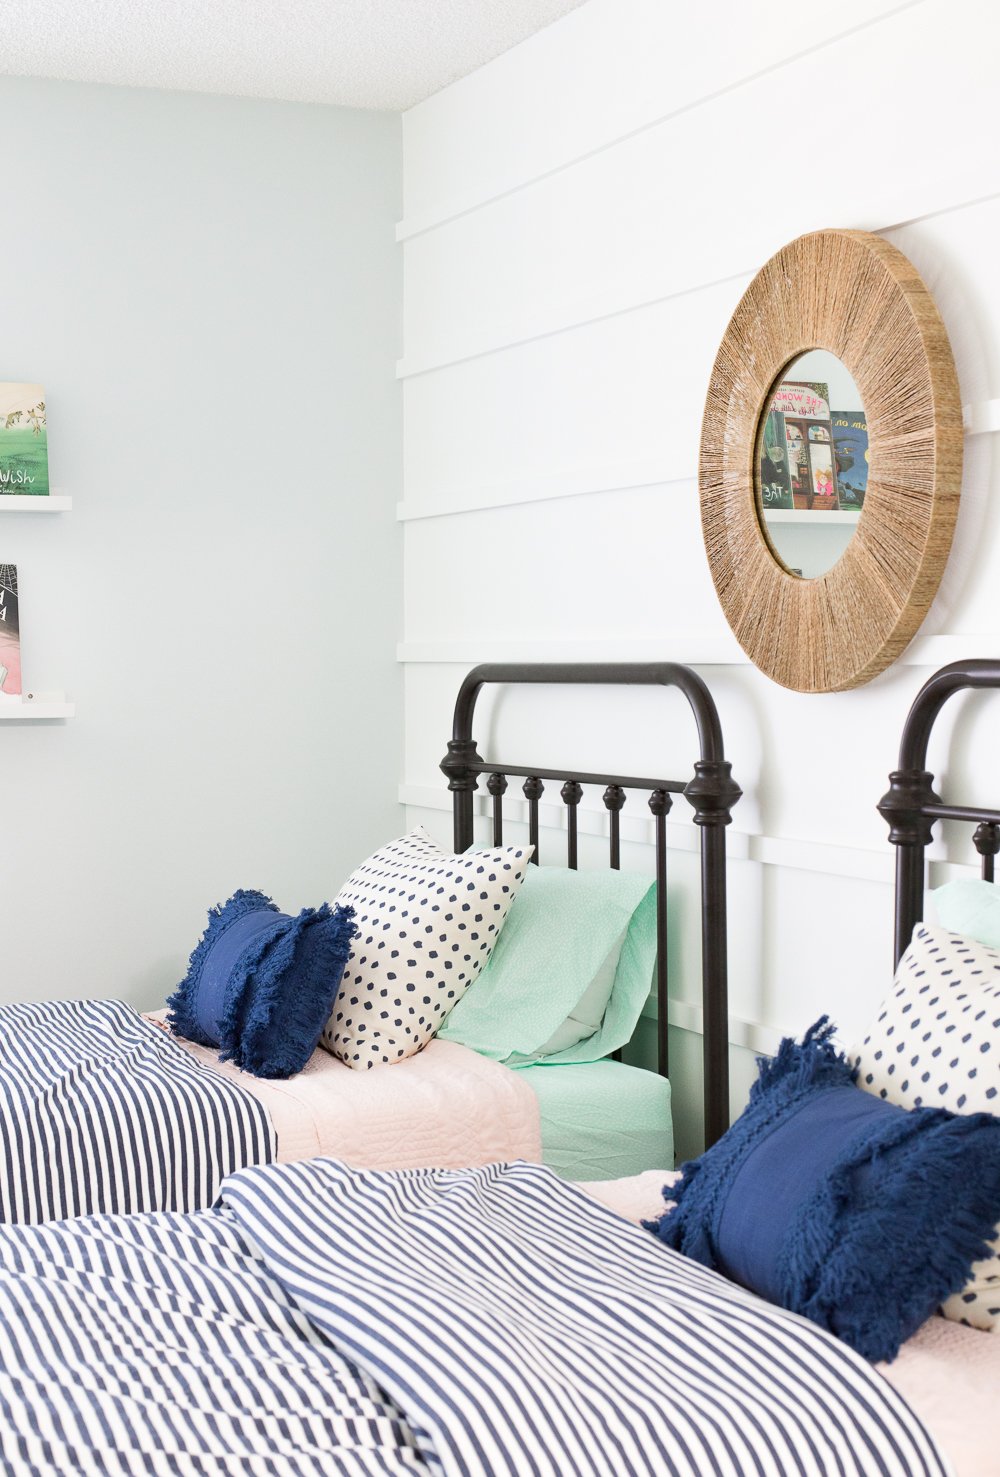
I hope seeing how easy this board and batten tutorial gives you the confidence to try it yourself. It’s such an easy and inexpensive way to really elevate any space. We also added a board and batten treatment to our daughters’ room. See the horizontal board and batten accent wall here.
Pin it to at it to your “to do” list!


Looks great and super easy!
It’s absolutely gorgeous! LOVE how this turned out Chelsea!
Love this! Looks like it was really simple to do and the end look is so professional and high quality! That other color is really pretty too.
Shonee
http://www hawthorneandmain.com
what an amazing transformation! I’ve been loving the look of architrave and taller skirting lately, and panelling like this really adds character to a room.