7 DIY Furniture Projects

It’s not a secret that I love a good furniture project. From painting furniture to give it a more custom look to straight up building pieces that are perfect fits for our home, there’s nothing like putting your personal touch on a piece of furniture for your home. Today, I want to share seven of my favorite DIY furniture projects in hopes to inspire you to tackle one of your own!

This wood and pipe entryway stand was inspired when I participated in a fun West Elm knock off challenge. I fell in love with a similar piece sold at West Elm for $500. It was way out of my budget so I decided to build a version of my own. It is one of my favorite pieces to date. It’s the perfect drop zone for our family. We use the hooks to hold bags and backpacks, coats and keys. The baskets hold the girls’ shoes. See the tutorial here.

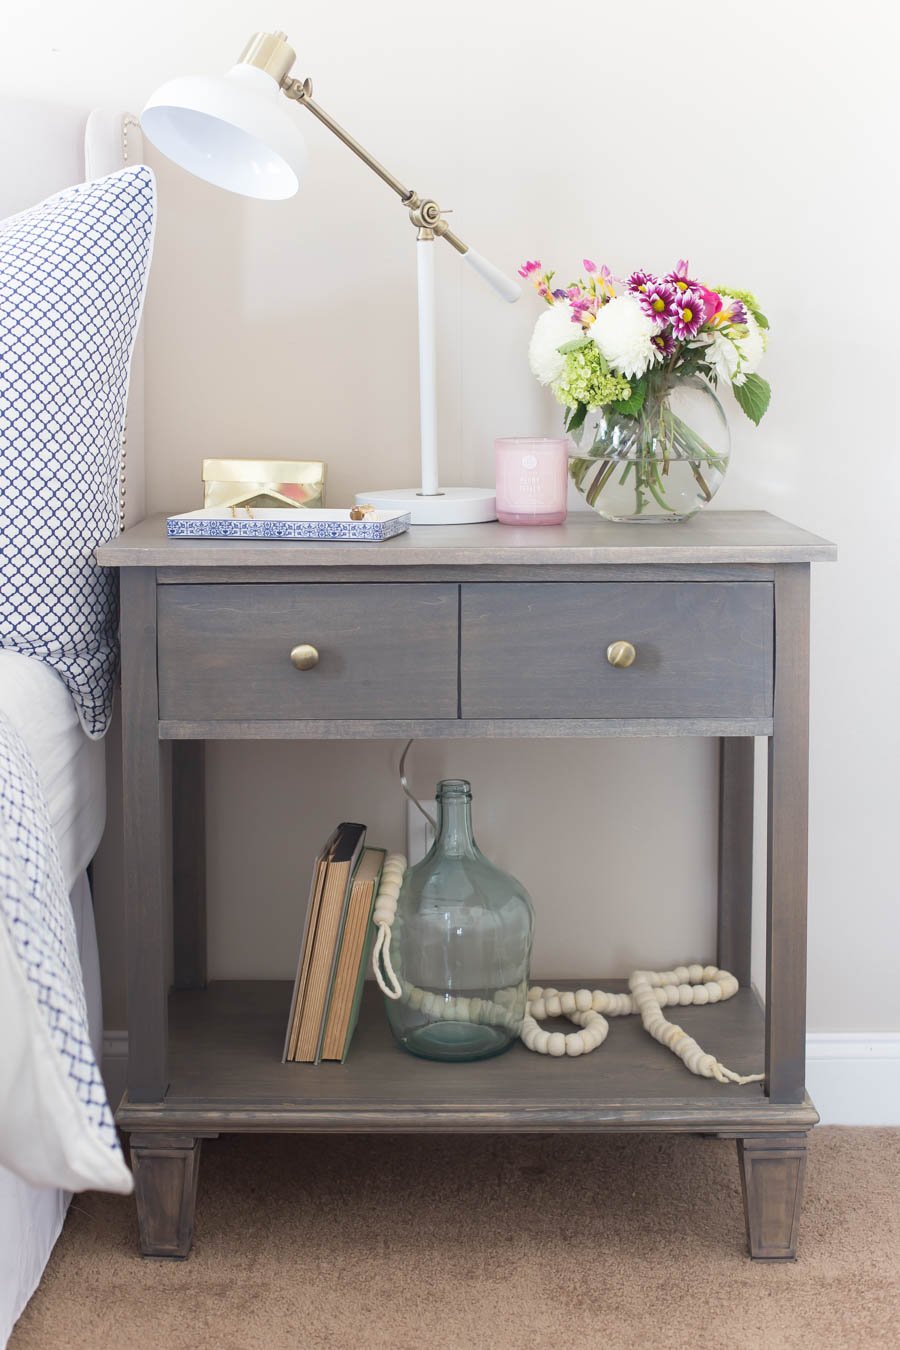
Oh I love this nightstand. When I was searching for the perfect nightstands I had a difficult time finding anything in my price range. I found the perfect-if-it-weren’t-for-the-price nightstands at Pottery Barn and decided that building my own version would be a better option.

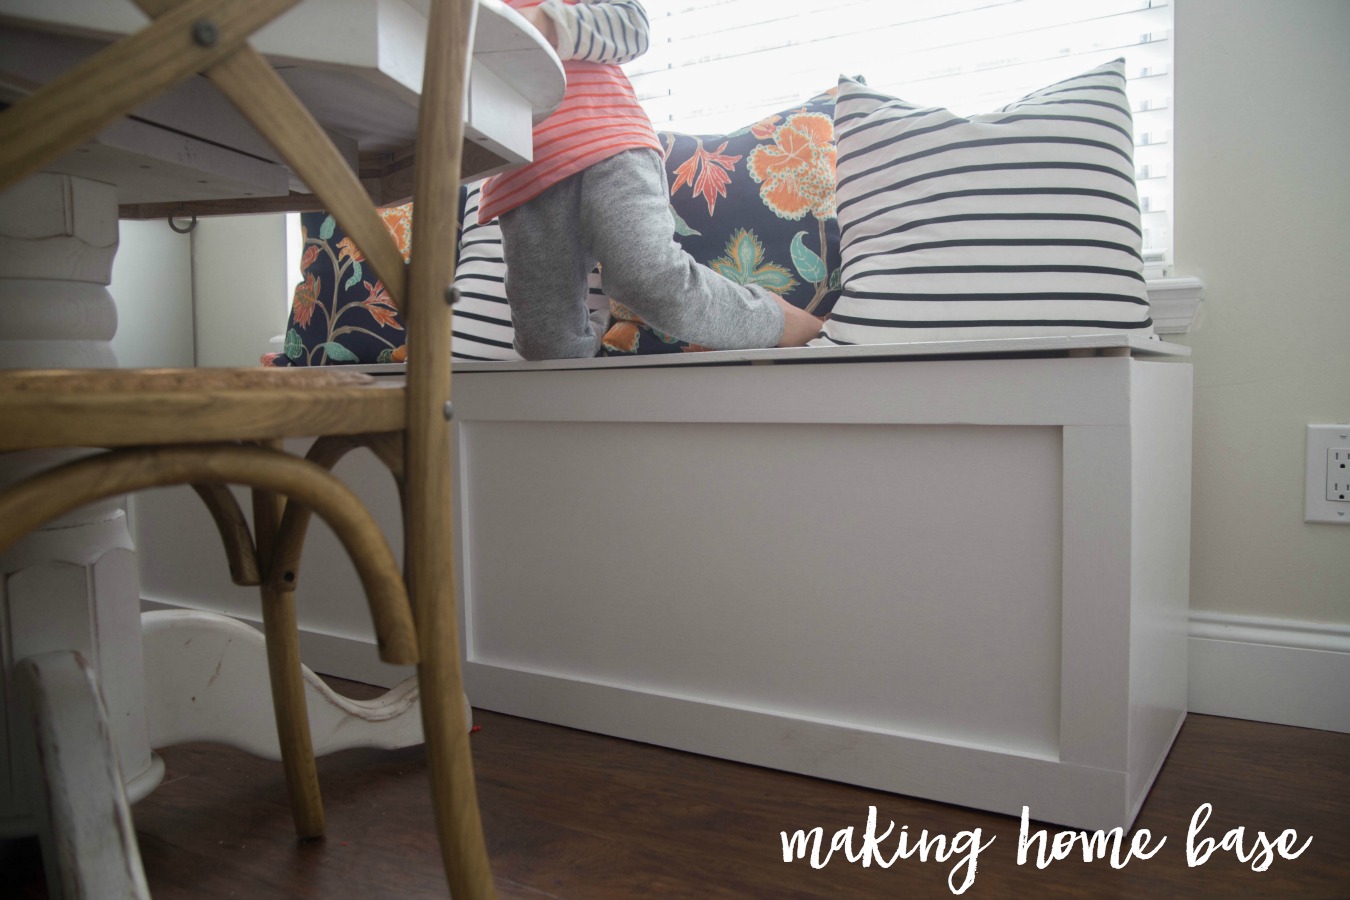
One of the first projects we did when we moved into our house was build this window seat with storage. I wanted to get appliances and large items off of the countertops while still being within reach. This storage seat was the perfect solution. We stuff it with pillows and our girls think it’s one of the coziest spots in the house.

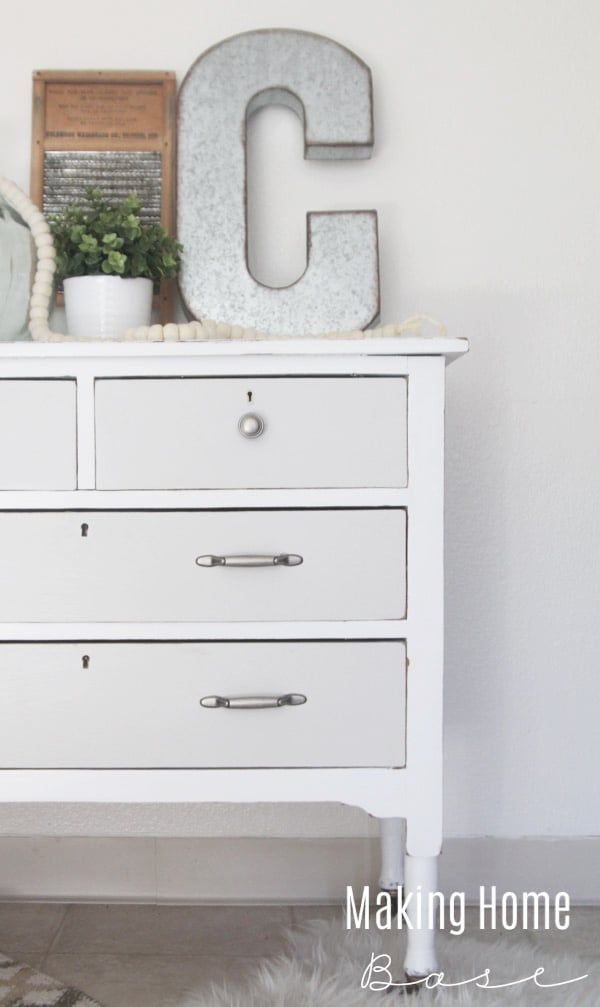
I have always had a thing for painted furniture. It’s just so pretty! The dresser was a fun furniture project with the mix of gray and white. You have to see the before.

When you can make furniture for just a few dollars, I consider that a win. I bought a wire laundry basket on clearance and turned it into a side table. It was easier than you think, and I bet you could find a basket to make this your next DIY furniture project! Here’s the tutorial.
IKEA hacks are another inexpensive and fun way to customize your furniture. We purchased this IKEA kitchen cart years ago. When I got sick of the unfinished wood, I painted the base of it blue, stained the butcher block top, and added a monogram stencil.

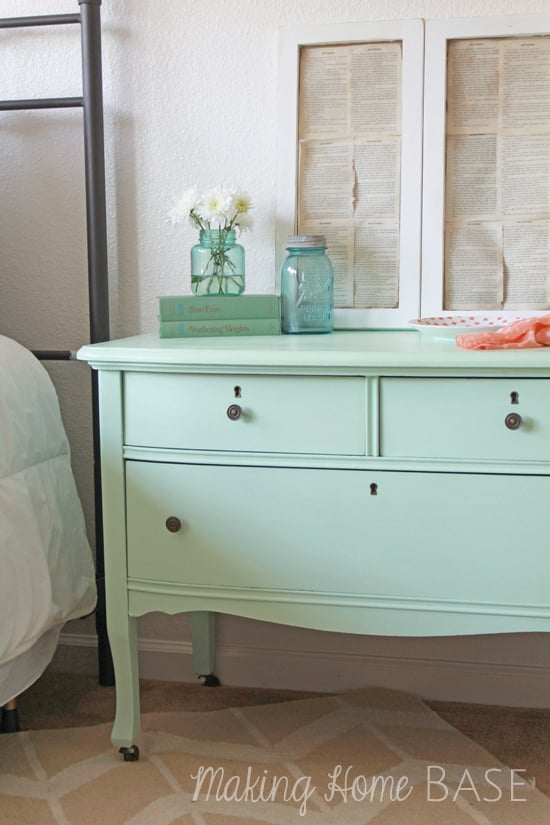
This minty beauty was beat up when we found it for only $25 on Craigslist. It had all the original hardware but the wood couldn’t be salvaged. We painted this gorgeous shade of mint green and used is as a colorful nightstand for a few years. Such a whimsical piece.
What has been your favorite DIY furniture project?


You are SO TALENTED! I love this post because it really highlights what a creative eye you have as well as your hands-on skill.
You have some really cute projects here. I especially love the stenciled letter on the wood top, and the fact that you painted an old craigslist piece but maintained the original hardware.
I am a handletterer and think your stencil method will look cute on a wood top too.
These projects are amazing! I think my favorite is definitely that wire basket side table though! I love that it takes up very little visual space because you can see right through it, but has that rustic, industrial touch. I’m definitely going to keep an eye out for wire laundry baskets on clearance now! 😉
Although all these ideas are ‘great’, I especially liked the long box under the long window; I have a long window, and a box like that would take care of my grand babies toys that are all under the window in boxes & bags; love this idea;
Thanx for sharing; ?
Hi Jo-Anne – it’s so helpful for storage!
Great pieces Chelsea, I so wish we had a “Craig’s list” in UK.
I’m disabled and unable to cut wood but I’ve recently changed
my Ikea kitchen cart. My kitchen is way too small for it so instead
it’s become my sewing centre.
My machine lives on top in it’s cover, cottons, bobbins, scissors ect
in the pull out drawer. The shelf and wire rack store fabric and projects.
The problem was that it lives in my living room and it was difficult to
keep tidy.
So, a very large corrugated cardboard box was measured up to fit under the
Butcher’s block on top down to the frame at the base and around 3 sides.
This was then cut out and I used double sided sellotape (Scotch tape) to secure
the cardboard to the frame.
For the front I took the same measurements and added a tiny amount to allow for
cutting. Once the piece was cut out to fit across the front I measured and cut straight
up the centre. This gives me 2 doors.
For hinges I cut strips of card from leftovers, 8 of them, 1/2″ x 1″. Using double sided tape again I
secured 4 strips to one side of one of my front cut out panels and repeated with the other
piece on the furthest side. I then taped over the joined strip with Duck Tape.
I secured the other end of each hinge to a side panel and reinforced with Duck Tape.
I had previously covered some plastic boxes (they hold craft materials and live on my wall unit)
with wall paper to make them more attractive. I used the same paper to cover all the cardboard
surrounding my kitchen trolley. I took it just inside the “doors” and then used a contrasting
wrapping paper to finish the inside of the doors. Double sided tape to fix it to cardboard.
The last step was to buy a bright blue button an inch across which I sewed to one door,
2″ from the edge using a mattress needle. I made a loop to go around the button out of
round blue corded elastic.
2 small holes on the door opposite the button, threaded elastic through and tied a knot inside
the door. I covered the knot with a strip of the inside paper.
Close doors, loop elastic around button and 1 pretty, practical sewing station that can be changed
anytime I’me bored with my decor 🙂