How to Hang a Gallery Wall | DIY Friday
I’m a big advocate for printing your pictures and not just letting them live in your computer or phone. I always put together an annual photobook for our family but in addition, I like printing photos to frame and hang around the house. A few weeks ago I had an idea for a black and white gallery wall for this large blank wall near our fireplace. Figuring out living room wall art can be tricky and this blank wall was driving me nuts! This wall was the perfect size for a gallery wall and I love the look a grid style gallery wall. This was the perfect opportunity to print some family photos and fill up a blank wall in our living room, a win-win. In today’s post, I’m going to share with you how to hang a gallery wall, grid style.
For your convenience, this post may contain affiliate links. That means, at no additional cost to you, I may make a small commission on your purchase. Thank you so much for supporting MHB. Click here to read my full disclosure policy.

How to Hang a Gallery Wall: Grid Style Gallery Wall Tutorial
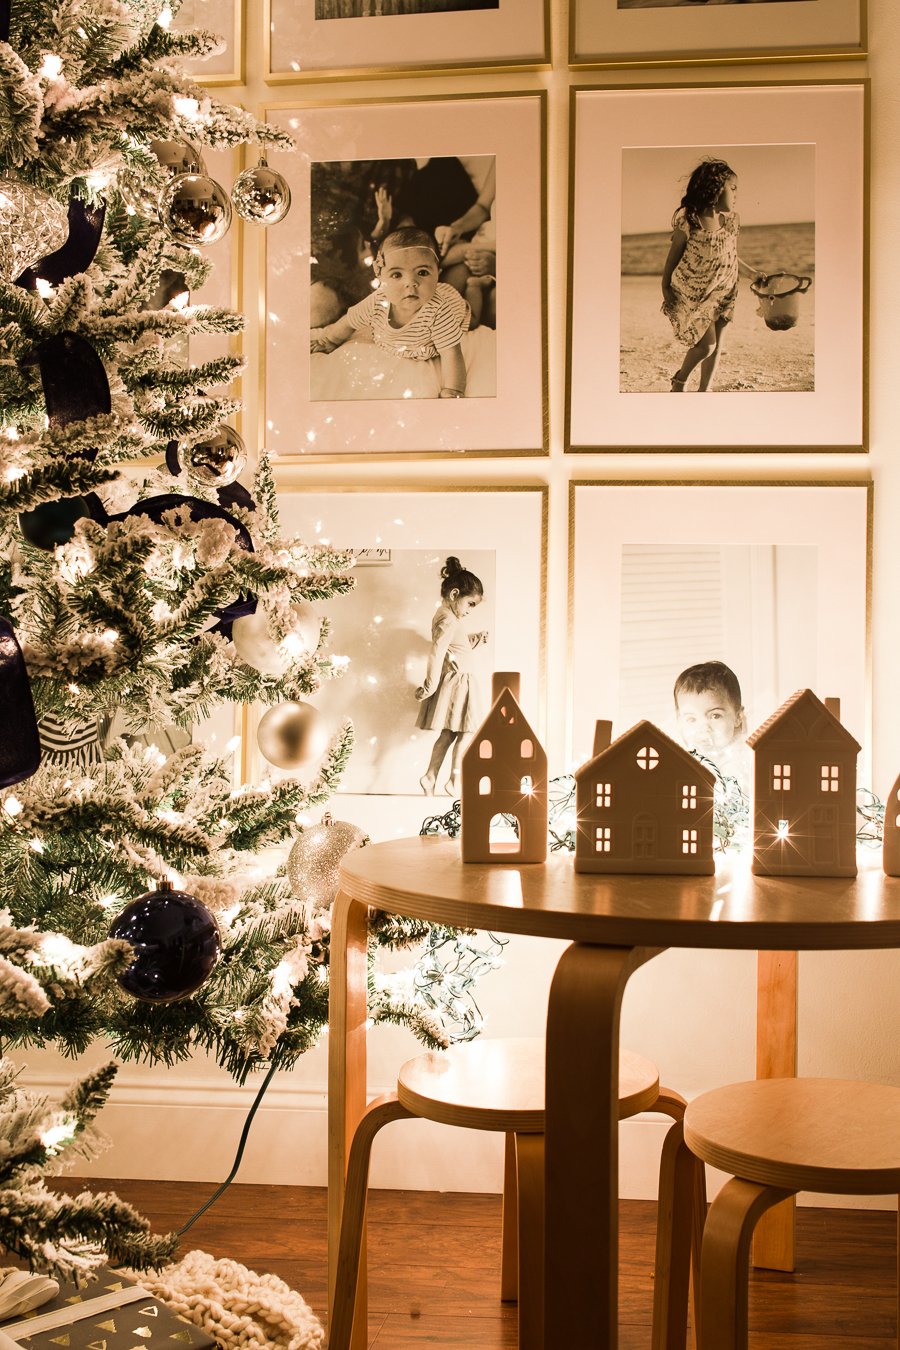
As a serial renter, it’s so important to me to actually hang things on the walls. This is one of the ways I’m sure to make a space feel like home. I mention this tutorial in my ultimate guide to rental decorating because it’s such a great way to spruce up your rental and make it feel like HOME. This tutorial is pretty straight forward. I hung nine 11×14 prints in 16×20 frames about an inch apart. I think the one component that makes this whole gallery wall work is the scale. The large frames fill the entire wall – that’s really important to remember when hanging your own gallery wall.
I had the nine 11×14 prints printed from Mpix.com (my favorite photo printing service) and framed them in these 16×20 frames with 11×14 mats. I recommend using frames that are at least 11×14. Otherwise, the frames will look too small for the wall. If you are considering a smaller scale gallery wall, like above a table or a bench, then you may want to use smaller frames like an 8×10 or 10×10.
The tricky part about a grid style gallery wall is getting the frames levels and evenly spaced. Gallery walls that are asymmetrically don’t require precise measurements, a grid style gallery wall does.

My trick to getting my gallery wall straight was to use a laser level. I really love this handy tool and have used it many times when hanging artwork but also when we did the horizontal board and batten wall treatment. You can see in the image above, this level suctions to the wall and you can rotate it to get that perfectly straight line.

I started building the gallery wall with the middle top frame, first measuring the width of the wall and then putting a nail in the center of the wall. It’s helpful to measure the entire wall to determine the placement of the frames. For my gallery wall, I determined the best aesthetic was to have the frames be level with the opening to the left of the wall.

Side note – can you see the mat on the top right picture is like an off-white color? It’s driving me nuts – I got all of the frames at the same place but obviously, one of these things is not like the other! I have to swap it out.
After the first nail was in – I used the laser level to get a nice straight line across the wall – then measured 17 inches from the nail on both sides – that’s where the other two nails went. I did this on all three rows, started with the center frame, then did the two outer ones. This created a perfectly straight grid style gallery wall.
Gallery Wall Frames For less than $20


I went around the perimeter of the gallery wall with my level to ensure everything was nice and straight. To keep everything perfectly straight you can use these sticky tabs around the corners of the frames so prevent any movement if say you’re one year old was to bump them 😉

This gallery wall is one of those transformational projects that take little effort but has HUGE rewards. Now you know how to hang a gallery wall and you can do it in any space to really spruce up any blank wall in your home. I love using gallery walls as living room wall art, in hallways, and entryways. Stairway gallery walls are especially eye-catching. Gallery walls also look lovely in dining rooms as well. You can use your family photos, travel photos, or even a collection of artwork. They would all look lovely in a gallery wall.

Want more DIY projects?


Hi Chelsea, I absolutely love your wall. I’m guilty of not printing and using all the pics on my phone and camera. This post will give me a kick in the pants to do some printing. I especially like the black and white that bumps up the style factor.
Before you go buy a new frame, try flipping the matting around. Depending on how the matte is made, it may be the right shade on the other side. Hope it works out.
Thanks
Hey Kenyatta! Clever lady! I did exactly that – worked perfectly!
I love these picture frames- where did you get them? Your gallery wall turned out beautiful!
Chelsea, I absolutely love these frames and have gone a little crazy with them in our home. I had to laugh a little bit because I made design plans for our living room on Friday and had the exact same frames in a grid above our sofa! Great minds think alike right? 🙂 You did a great job, it really looks gorgeous and thank you for the spacing tips.
Love this gallery wall. And those frames are beautiful!
Yes!!! Where did you get your frames?!?
I would love to know where you got your frames! Thanks!
Love what you did here! it’s gorgeous! where did you get the frames?
Looks great! May have missed it but where did you get those frames? Thanks!!
Hi Chelsea!
May I ask what size this wall is? Thanks!
Beautiful! Have you ever tried Persnickety Prints ? Better than Mpix and cheaper
I haven’t tried them – I thought they only did Instagram prints? I’ll have to check them out.
Where did you those frames?
They’re from Target 🙂
Love your gallery wall! I keep coming back to take another look as I plan out a wall in my bedroom! I have ZERO pictures of my kids hanging up and we just had pictures taken, so no better time!
yay!! Print those pics!
I purchased these frames for my babies room, I attempted to start handing them. Do you have any tricks for measuring where to put the nails for each frame. Since these frames have 2 hooks and unfortunately they are not all perfectly aligned. Do you have any tips on hanging these specific frames? Did you use the 2 hooks or did you just put a tail in the middle and hang it from the metal frame? Any advice would help. I have a second set of these photo collage going in my living room and dreading the project.
Hi Cassandra, no I didn’t follow the 2 hook guides. I just used one nail in the center (like I showed in the tutorial) and hung them on the ledge of the frame. They don’t get touched so it’s not an issue but you could also use some command strips to secure them to the wall. If you want to use the 2 hook guides you can just measure between the hooks, and use a level to make sure they are even. Hope that helps!
Hi Chelsea! This is beautiful! I was wondering if having say 12-16 of these frames on one wall would be too heavy for dry wall without putting them in studs? Or would it be fine since each individual frame is 4 pounds and the weigh is being spread across the wall? Thanks!
Hi Emily, the weight shouldn’t be an issue at all!
I noticed you measured 14 inches from the nail on either side, but what about up and down?
Same Question! I am totally using your tips for a Gallery wall I am working on in my newly remodeled home!! Thanks so much! Kim
I measured 1.5 inches down from the bottom rim of the frame. You’ll only have to do that once per row since you’ll use the laser level to get them all even.
Hi, love your wall. I’m thinking of doing something similar. I have a big wall almost 14 feet x 7 feet. If I follow this grid, I may have to do 15 or 18 (3 horizontal rows and 5 vertical rows) my Q is—> is that too many photos?
Also how do the photos from your iPhone come out with enlarged prints say 11x 14 as in your post?
Thx so much
Hi there – I haven’t tried printing any iphone photos this size so I’m not sure. If you have a more recent model iphone I suspect that the quality will be good enough for a 11×14 print. I think I might stick to a 4×4 grid, I think anymore might just be too many photos. Is your ceiling 14 ft? Or is that the 7 ft. If your wall is only 7 ft, you won’t be able to fit that many rows.
Thanks for the suggestions, I’m going to have to get that laser level. One question. If the frames are 16×20 that means there’s 8 inches of frame on either side of the nail, at least 16 inches between nails if the frames are touching. So how are the nails only 14 inches apart? Typo? or what am I missing?
Hi Kyle, you’re right – not sure why I put 14 inches – I just measured again – the nails are 17 inches apart. I’ll edit the post. Thanks!
Hi there,
Love the gallery wall you created! Also, LOVE your rug!! Do you mind sharing where it’s from/name? Thank you!
What is the distance between frames?
Love the wall and plan to do one just like it 🙂 Do you mind sharing how man inches apart the frames are, for both length and width? Thank you!
Hi! The frames are probably only an inch to an inch and a half apart. They are pretty close together. If you hang them the way I do with just 1 nail, you can space your nails out 17 inches.