How To Build A Window Bench with Storage
Create a DIY window bench with storage for your breakfast nook or any space you’d like, with this easy-to-follow (easy to adapt) tutorial.

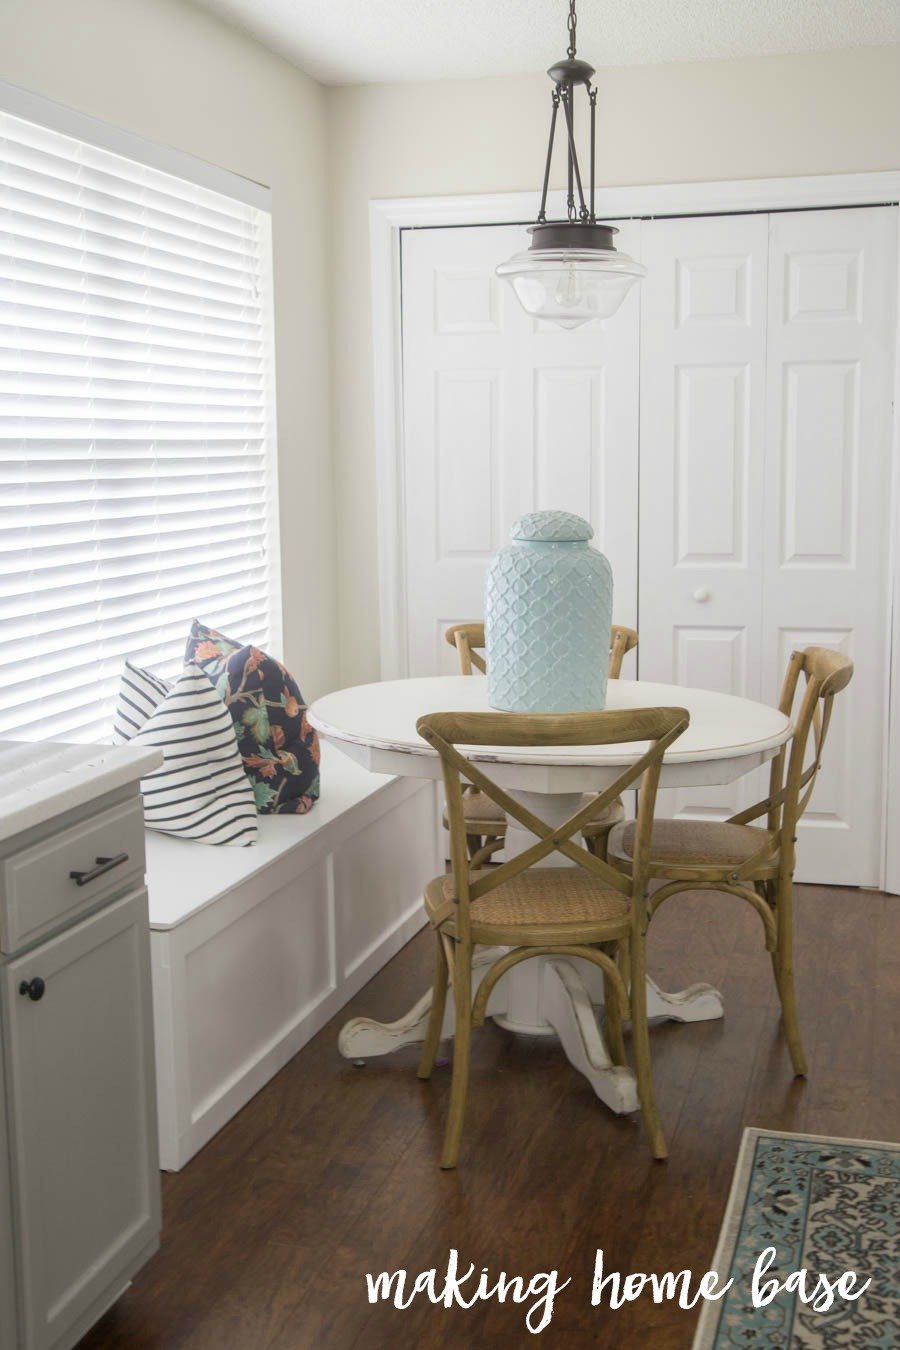
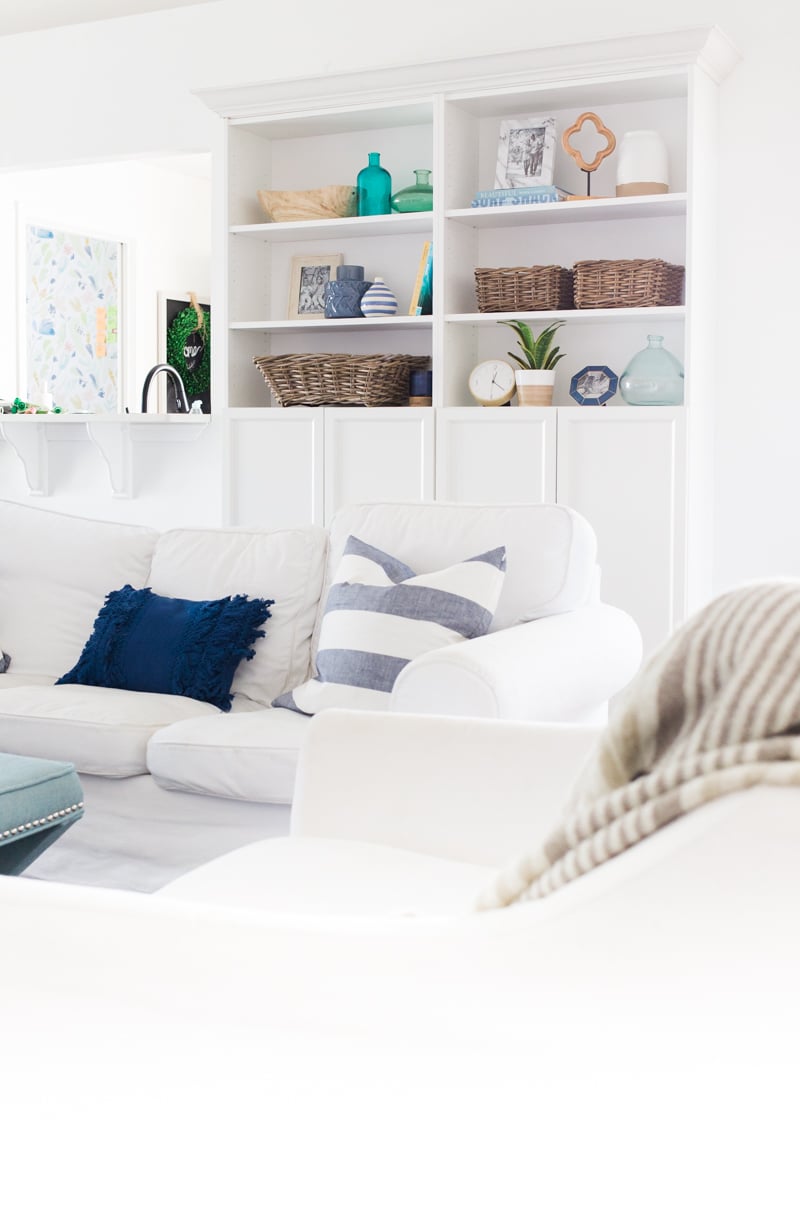
I’ve always wanted a window bench ( and I really could use the extra storage). I love window bench seating in kids bedrooms and in dining nooks and our breakfast area was ripe for a window bench just like the ones I’ve dreamed about. Our breakfast nook is our main dining area and the most heavily used space in our home. We eat all of our everyday meals here, my daughters play in here, draw in here, my husband sits here and chats with me while I cook dinner, and in the mornings I even blog from here. I love the big window that allows so much natural light to come in – it’s just a great spot.
When we bought the house I imagined a really cool banquette style seating arrangement down the road but for now, I really wanted to build a window bench that we could use for additional seating and one that had plenty of storage too. Also, we are light on countertop space in our kitchen so I thought building a window seat with storage would be a nice way to hide some small appliances and get them off of the countertops.
This window seat was a quick weekend project that following the tutorial below you can whip up yourself in no time.
How to Built A Window Bench with Storage
Window Bench Building Supplies:
2 sheets (4×8) of 3/4 in birch plywood (box)
1 sheet (4×9) of 1/2 in birch plywood (top)
Kreg Jig
1 1/2 in kreg jig screws (NOTE: Kreg jig recommends a 1 1/4 in screw for 3/4 boards but in our case 1 1/4 didn’t hold the wood together tight enough so we moved up to the 1 1/2 in screw and that worked like a charm)
(3) 12 in piano hinges
(2) 1x3x6 pine board for trim
nail gun – this is one we have – no air compressor needed!
Finishing nails
Wood filler
Paint – Chantilly Lace is my favorite white paint color
Window Bench with Building Instructions
Selecting Your Measurements
If you want the window bench to measure the same size as the window, the first step is to measure the window you’re building a seat for. Ours was 71 inches, we planned to have the seat 71 inches long, 17 inches deep, and 18 inches high.
To build the box – we planned to use plywood and we had our pieces of plywood cut at The Home Depot. If you have a table saw then you can rip your boards yourself.
The final dimensions of our boards are below.
From the 3/4 in birch plywood boards:
17 x 71 in (bottom)
(2) 16 1/2 x 69 1/2 in (front and back)
(2) 16 1/2 x 17 in (two sides)
From the 1/2 in birch plywood board:
17 x 71 in (top)

The base of the window bench is as simple as building a box. We used pocket holes to join the boards together so that there were no visible seams or screws from the outside of the box.
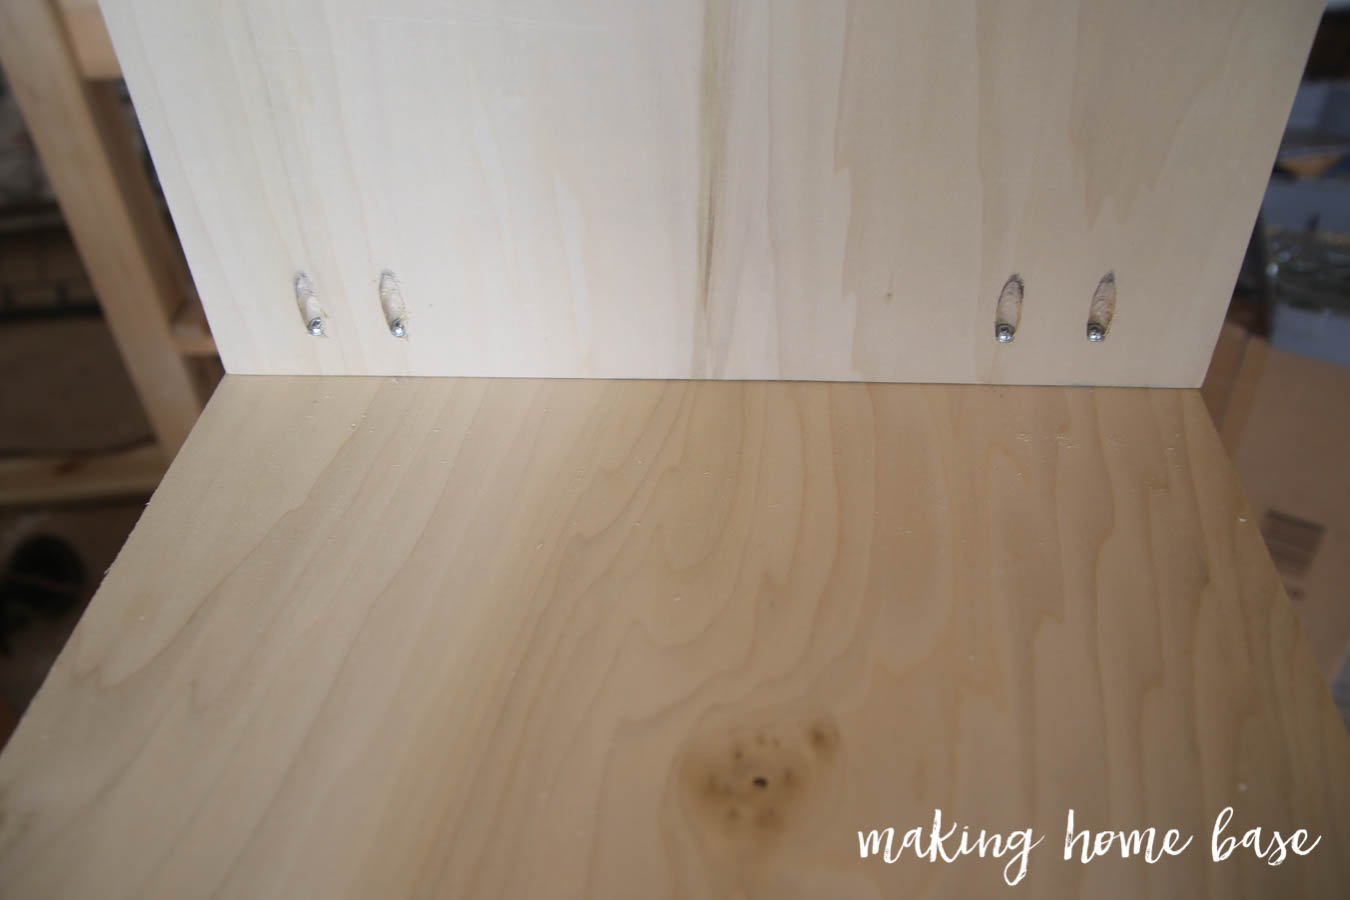
To build the box, we first joined the two short sides to the bottom piece using the kreg jig pocket hole system.

Using pocket holes again, we joined the long sides (front and back) to the bottom and the sides. That gives you the base of the window bench. I hope that makes sense!

Because I wanted a more polished finish, I asked Matt to add some trim to the window bench box. I think having the trim makes it look more like a built-in window seat.
For that, we re-measured the entire box (always measure twice cut once) and cut my 1 x 3 in wood to fit. So (2) long pieces at 71 inches (I actually purchased (4) 36 in. boards because my store didn’t have a 6 ft board in 1 in. so I ended up having a seam in the middle you can see it in the photo below.) and 3 shorter pieces (measure between the two pieces of trim so about 12 inches).

The trim is attached using a brad nailer – then we filled the holes and seams with sawdust and wood glue before painting. Adding some sawdust to wood glue when filling holes and seams is a great trick that makes for a really smooth finish.

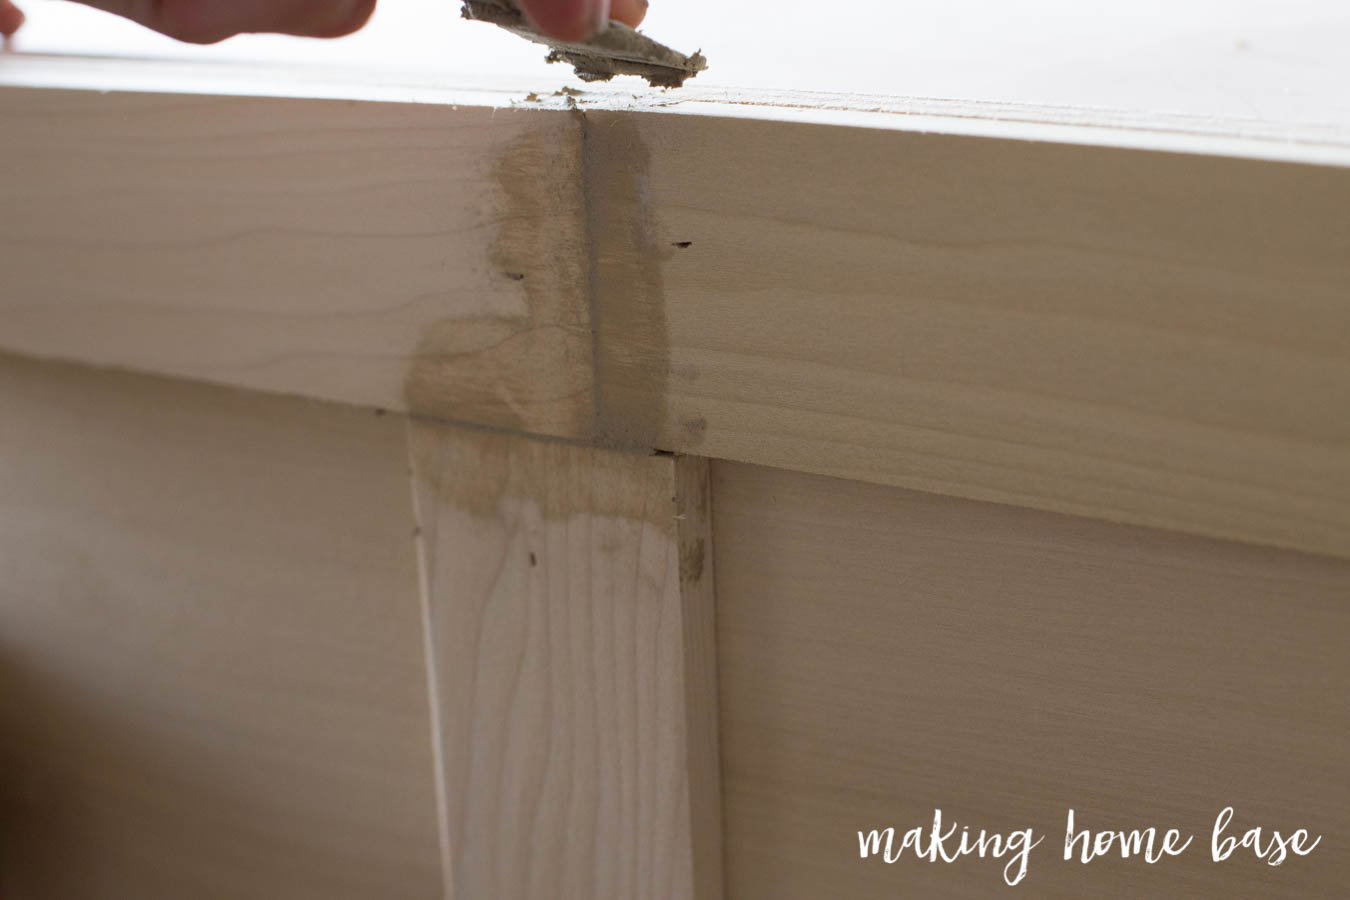

My only regret is that we didn’t add the trim to the sides of the window bench.
You can see the fully built bench in the photo above. Before we painted it, Matt took a sander and ran it over the whole piece until it was smooth. Once it was was smooth he caulked the seams and we were ready to prime and paint.
To paint the window bench, I highly recommend using a foam roller and a quality paint brunch to get in those corners and crevices.
To get the smoothest possible finish, Matt would paint a coat, allow it to dry, sand it lightly, and then paint again. Doing so gives the window bench the smoothest finish which allows it to look more custom.


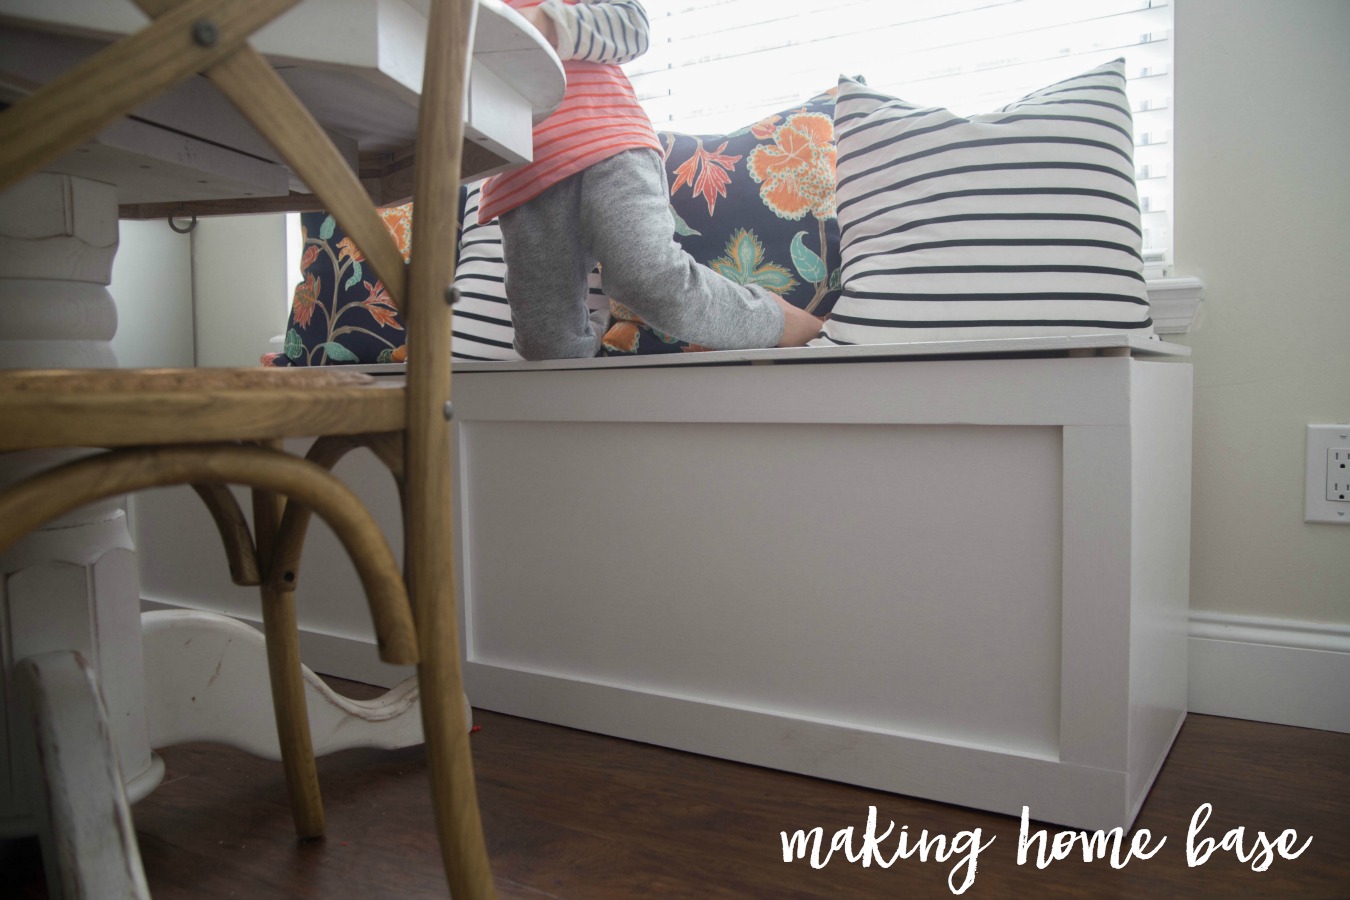
The last and final step was to attach the top. We wanted a hinged top so we could lift it easily and add or grab things from the storage section. For this, we used piano hinges. One reason we decided to use the 1/2 inch plywood instead of thicker plywood or MDF is that we didn’t want the top to be too heavy to lift. The 1/2 plywood seemed to be a perfect weight for this window bench.
Adding the Hinges
To attach the piano hinges we set them in place – making sure all three hinges are even on the box. We first attached the hinge to the box portion of the seat. This was simple – drill a hole, screw in screws. The top required a bit of muscle. Matt held the top in place while I marked a couple of the holes with a marker. Then he drilled a couple of the holes and placed the screws into the window bench. We did about two on each hinge, then the top was in place so I didn’t have to hold it up any longer (phew). We continued to screw in the rest of the screws.
We added felt pads so it would close softly. They also leave a bit of a gap just in case little fingers get in there, I don’t have to worry about them getting stuck or slammed on. If we did it again we might consider adding a soft close hinge system instead of a piano hinge… next time.

How Deep is that Storage Bench
Even though we built this bench, I was amazed at how much storage it provides. I can fit my KitchenAid mixer, bread machine, crockpot, dutch oven, and more. I basically house all of my small appliances inside of this bench so that I can keep my countertops clear for actual cooking.

Conclusion
We are thrilled with how well this window bench turned out and how well it has worked for our family. Having the added storage has been such a saving grace for not only this house but for future homes as well.
I mean, look at all that storage! I’ve got my bread machine, crockpot, stand mixer, all in here and it frees up cabinet space for the items I use more regularly.
Five Year Update – How’s the window bench with storage holding up?

We moved from the Florida house where the window bench with storage originated about 2.5 years ago and while there wasn’t a window to put the bench in front of – we still use the storage bench in our current home and it has held up beautifully. Our current home has even less kitchen counter space and storage so moving in with additional storage like this bench was so helpful.
We still keep small appliances in here as well as extra cookware that doesn’t fit in the kitchen cabinets. While it’s not exactly a window bench anymore, my girls still sit over here and read or color. It’s extra seating when we need it. It’s still as sturdy today as the day we built it. Overall, I’m so happy with this window bench with storage project!

You can see the kitchen and breakfast nook in full detail here.
More building projects with full tutorials that might interest you:


The seat looks great, Chelsea! Totally pinning this project! xo
This is such a great idea! I am totally saving this post for later. I think I can find a place in our home for a window seat with some storage. It turned out so nice, I love it. I can’t wait to see how it comes together with a cushion.
This is on my 2016 goals for my mudroom. I like how your bench turned out and am pinning to my DIY board.
This is a great project and I’m totally saving it for the future. And the storage space is perfect. I’d add a padding on the top, so many options!
The storage space IS perfect. Thanks so much!
I’m pinning this. I just moved in to a small home and have a nice dining room window that needs a window seat under it. I love how ‘easy’ it was in the tutorial. More sitting room in my small dining room!! Yay!!
Thanks, Lynnda! We loveeeee it!
It’s absolutely perfect Chelsea! I’d love to make a pretty seat like this under the window in our breakfast nook too! LOVE it!
Thank you! It’s so convenient. We use it every single day!
Simply beautiful!! I love your kitchen!!! (L)
Thanks for sharing this detailed tip, Chelsea. We have a smaller window but I think I can make something the same
This is beautiful…the best DIY window seat post I have seen…pinning this for future use!
Looks great! Ball park of how much it cost to make this?
Hi Charli, the materials are fairly inexpensive since we decided on plywood instead of a MDF or other product. I would say around $100 – $150.
How sturdy is it? Do you think it would hold two-three adults at once?
Thanks a bunch for the tutorial! It’s beautiful! 😀
Hi Jenn, absolutely! We’ve had it for about a year now and it’s very sturdy. Often, we have two adults and a child sitting on it. It’s one of my favorite and most useful projects!
Thank you for this post! I was just curious…. what size pedestal table do you have? We have a very similar arrangement in our eat-in kitchen, and I am searching for a table that fits.
Hello! Amazing project!
I wanted to know how one can build this, but with screwed on seat on it, for e.g. a sofa cushion? So it’s comfortable when someone sits on it.
Thanks!
Hi Sameena, to add a cushion to the top you’d could take another piece of plywood, cushion it with foam, batting, and fabric, then attach it to the top. Or you could just create a cushion for the top adding velcro to the bottom and attach it to the top with velcro. Easy!
Hi! This is so great. Quick question: Did you attach the bench to the wall? If so, did you remove the baseboard first? Or does it sit in front of the base board? I can’t tell from the pics and am wondering how it’s working out. I know a lot of banquette seats are attached but I’m considering building one that floats away from the wall… thanks so much!
Hi Betsy, it is not attached to the wall. We move quite a bit so I wanted something that we could take with us. It’s pretty heavy so it doesn’t shift. I hope that helps!
What kind of paint did you use?
Behr – semi gloss.
I’m curious why you decided to use 1/2 ” for the top rather than 3/4 plywood all around? It looks great and practical. Thanks.
We didn’t want the top to be too heavy to lift one-handed. Thanks, Richard!
I like this design, but it seems to me the that demensions of the top (the seat) are incorrect. If the box is 17 x 71 before adding the trim to the front, after it is added the exterior demensions are 17 3/4 x 71, yes? This would indicate that the top piece should be at least that size, or perhaps 18 by 71 so there is a slight lip for fingers…Your photos show the top as slightly larger before the trim is added, also.
Such a simple and clean look. What are the dimensions on the finished product? Just trying to decide how long we are going to make ours.
Thanks!
71 inches long, 17 inches deep, and 18 inches high
We used your instructions to make a window seat our kids’ room and it turned out great! Thank you!
Hi Melanie, that’s great to hear! Thanks for letting me know. I’m glad it worked well for you!
Hi! Your instructions are so simple, I’ve never built anything large before. I am actually going to try to take this on!
Could you just let me know if the math would be correct if I made it 60″ wide instead.
17×60 (Bottom)
(2) 16 1/2 x 58 1/2 (front & back)
(2) 16 1/2 x 17 (two sides)
17 x 60 (top)
Thanks!
Hey, thank you so much for this tutorial! I actually ended up building it and now I’m looking for a cushion for the top. Did you end up putting one? If so do you mind sharing which from where or do you have any suggestions as to ones I can get or places to get them or maybe even something diy that’s not tooooo hard?Thanks!