DIY Built in Bookshelves
Create custom DIY built in bookshelves with this IKEA Billy bookcase hack. Below is an easy to follow, step-by-step tutorial to build these beautiful built in shelves.
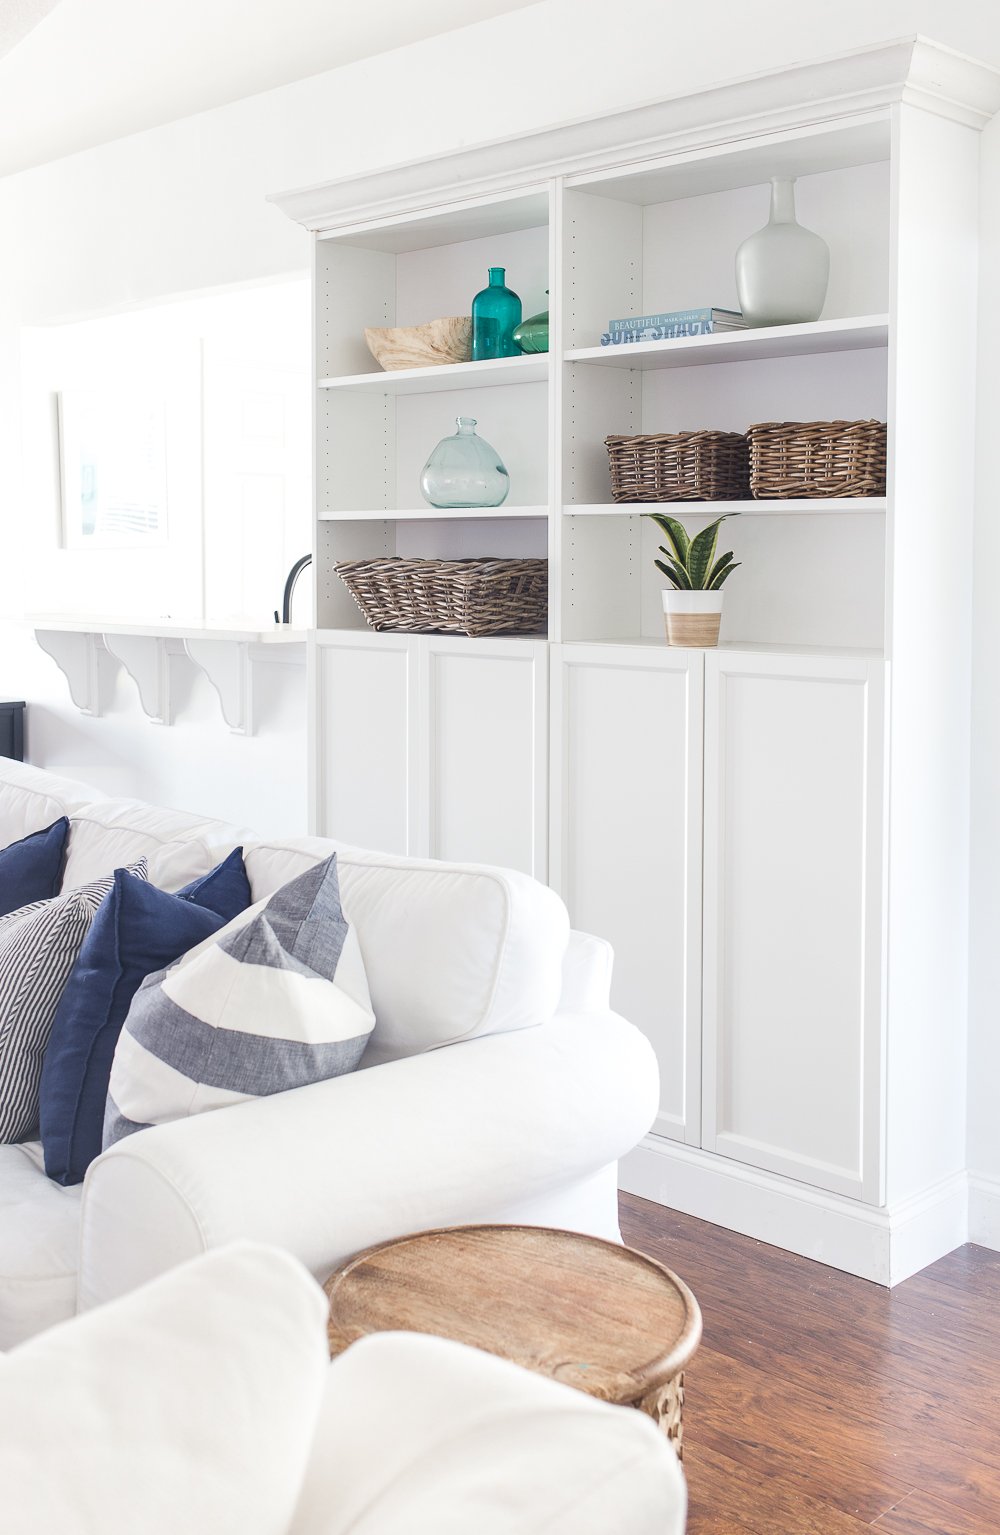
Our living room is a very awkward shape/layout. It’s long and narrow and I’ve tried many different furniture arrangements. I’ve wanted built in bookshelves to decorate for so long! We had two major blank walls that needed attention and I knew that we’d have an opportunity to put in some built in bookshelves. The IKEA Billy Bookcase Hack was perfect for this space.
The two spots that needed attention were:
1) The wall behind the sofa
2) The wall with the TV on it.
For your convenience, this post may contain affiliate links. That means, at no additional cost to you, I may make a small commission on your purchase. Thank you so much for supporting MHB. Click here to read my full disclosure policy.

Here’s a before shot of the wall we decided to put the built in bookcases on.
IKEA Bookcase Hack – How to customize the IKEA Billy bookcase into built in bookshelves

DIY Built in Bookshelves Tutorial
Here’s the supply list for the built in bookcase hack:
(2) BILLY Bookcases
Crown Molding
(2) 2x4s
(2) 1x2s
Wood Screws
For this project, we first built the BILLY bookshelves according to the IKEA instructions. The bookshelves come with a curve to accommodate baseboards so the built in bookshelves can fit flush with the wall – you can see that in the photo below. Since our baseboards are higher than the carve-out provides we ended up removing a section of our baseboards. We would have done this regardless because we want the bookcase to look built-in so we planned to carry the trim all the way around the bookshelf. In order to do this, we had to build the bookshelf a little bit off the ground.
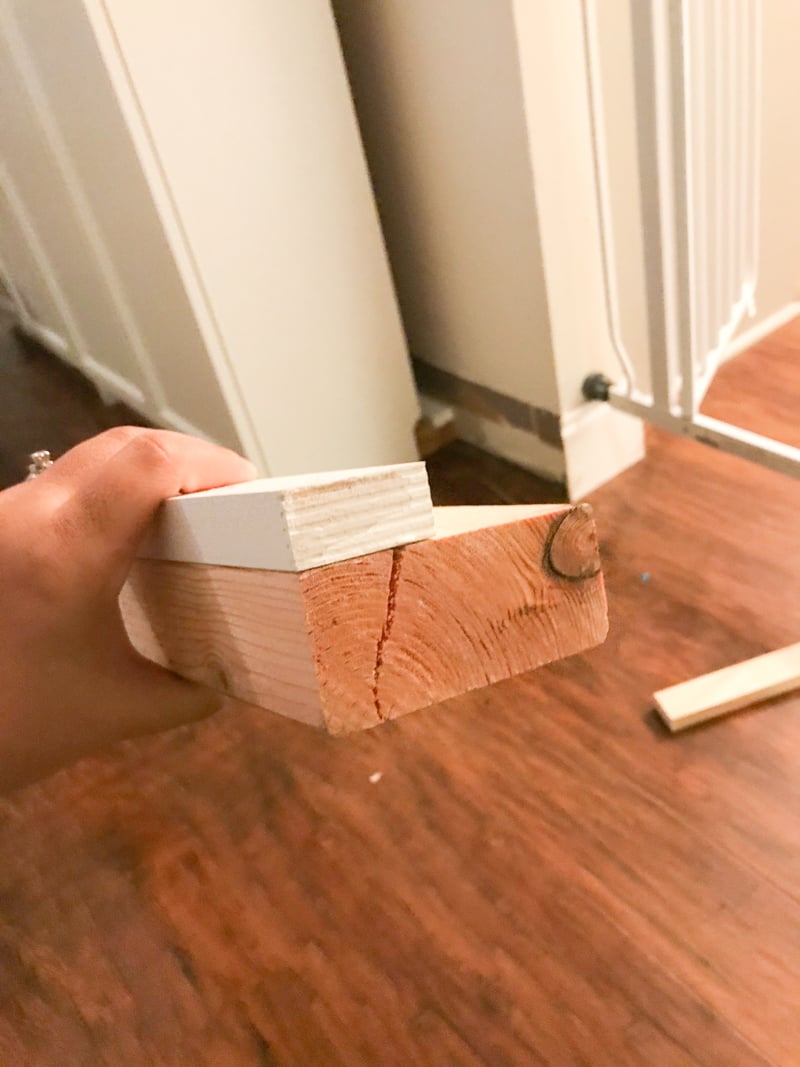
To do this we used some scrap 2×4 and 1×2 to build up the built in bookcase to meet the height of our baseboards.

We set the built in bookshelves on top of the boards. Since the bookshelves ultimately get anchored to the wall, it wasn’t necessary to anchor them to the 2×4 base. If you feel more comfortable, you can add some wood glue to the base.

The next step was to secure the built in bookcases to each other. Using 1 1/2 inch wood screws, we drilled screws at the base of the DIY built in bookshelves (this will be hidden by the baseboards) and two more screws using the pre-drilled shelf holes as pilot holes.

With a stud finder, we found the wall studs and used the anchor brackets that IKEA provided to anchor the shelves to the wall.

The part that makes the IKEA BILLY bookcase look custom is the trim work so we added crown molding to the top. In order to add the crown, you’ll need an extra piece of wood to the top of the DIY built in shelves to have something to attach the crown moulding to. In order to do that, we added a couple of 1x2s to the top using a brad nailer. The brad nail holes can easily be covered with wood filler.
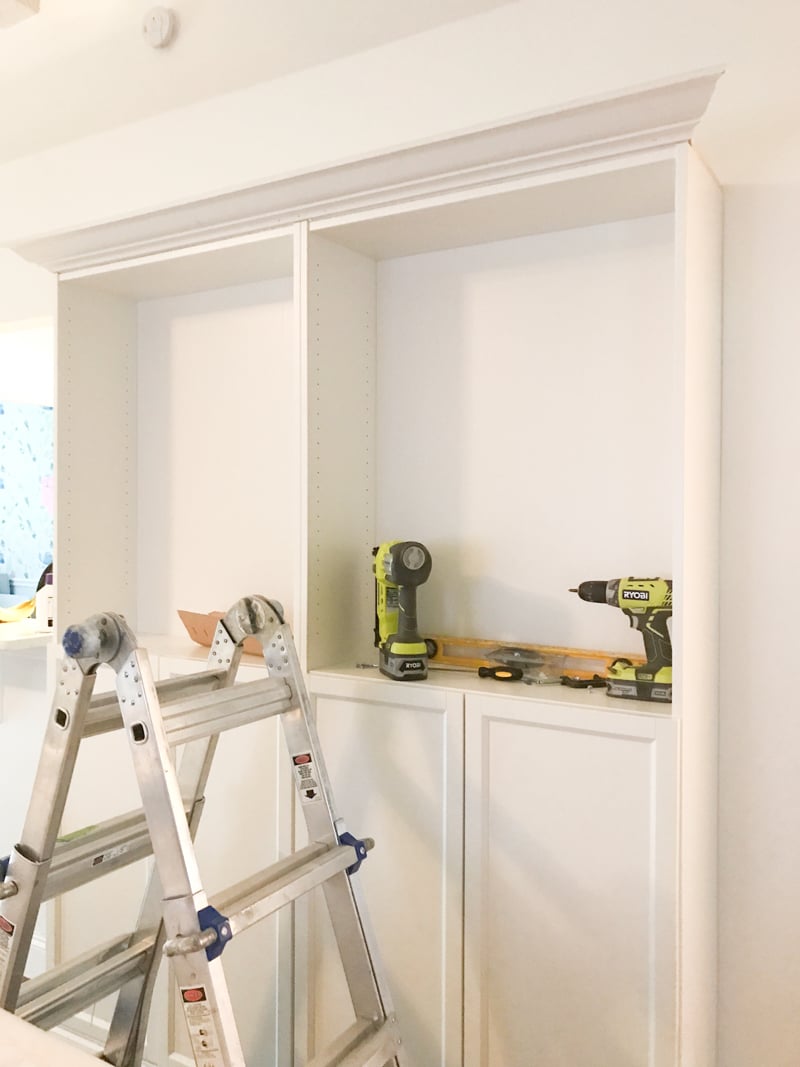
If you decide to do crown moudling, you’ll need a miter saw to get the mitered angle cuts. Matt had a chance to perfect his crown molding skills when he built the fireplace surround so this was pretty easy but it definitely takes some practice. My biggest tip for this is to measure twice and cut once (or measure 4 or 5 times).
Built in Bookshelves Finished

The last and final step of the building was to add the baseboards to the built in shelves. We added the baseboard back on the same way you’d add them to a room. Mitered the corners to fit flush and there you have it, a custom DIY built in bookshelf. The baseboards matched up perfectly! After the baseboards were back on all that was left to do was caulk and paint. I filled all the brad nailer holes and caulked all the edges. Surprisingly, the color of the IKEA Billy bookcase matched our wall color (Benjamin Moore Chantilly Lace) almost perfectly (see all of our home’s paint colors here).
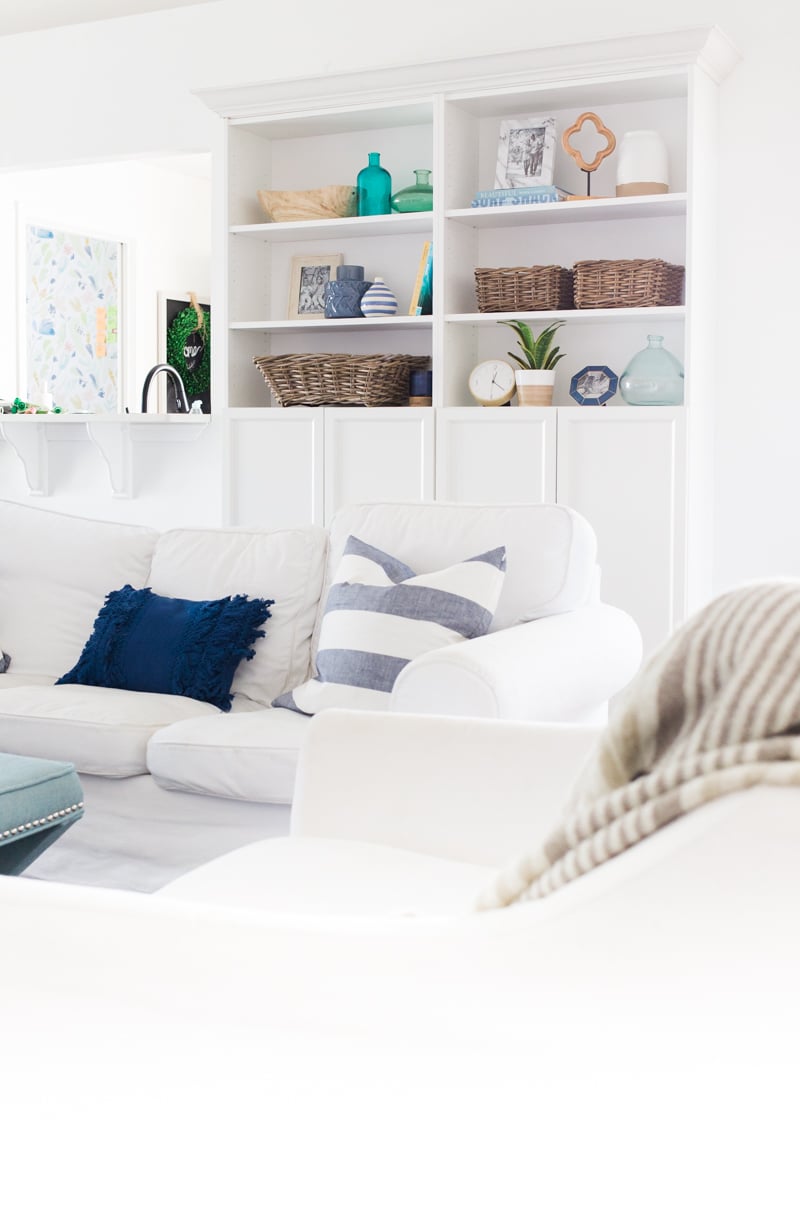

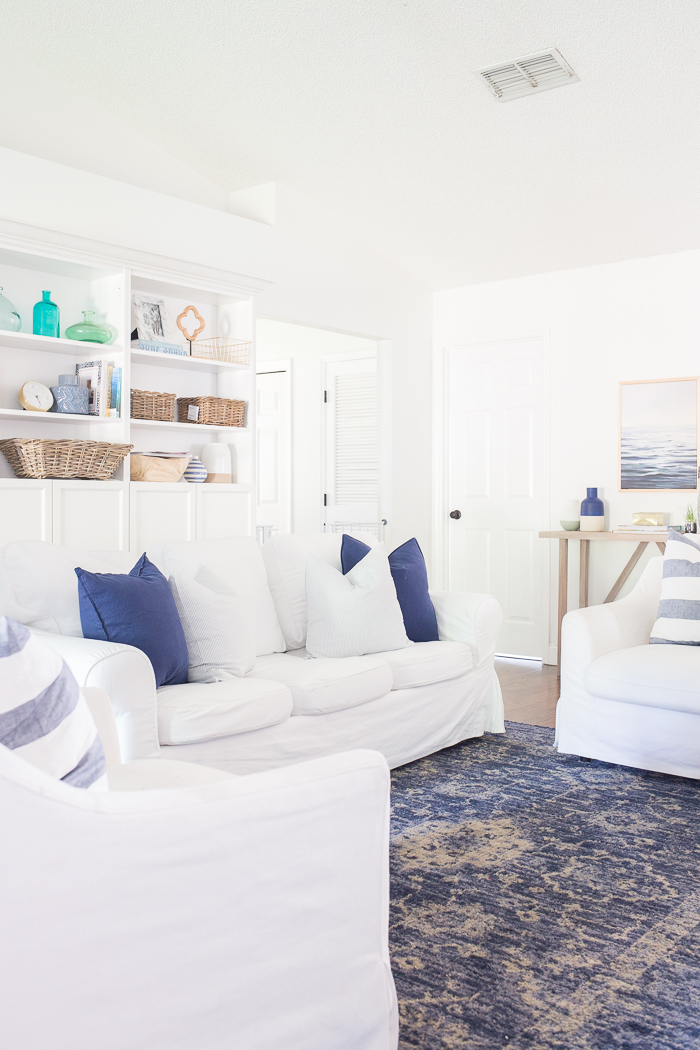
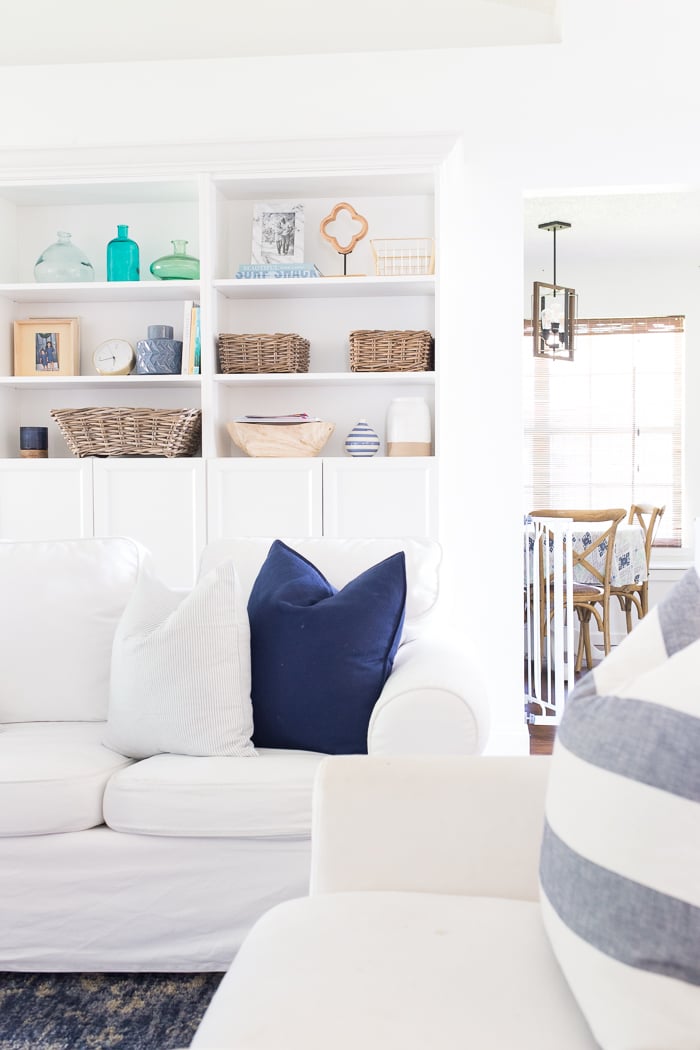
I’m amazed at how custom these built in shelves look in our home. Having something like this built for you or even building bookcases from scratch would cost way more in wood than the price of an IKEA bookshelf. So, what do you think? Could you see yourself adding custom built in bookshelves your space?
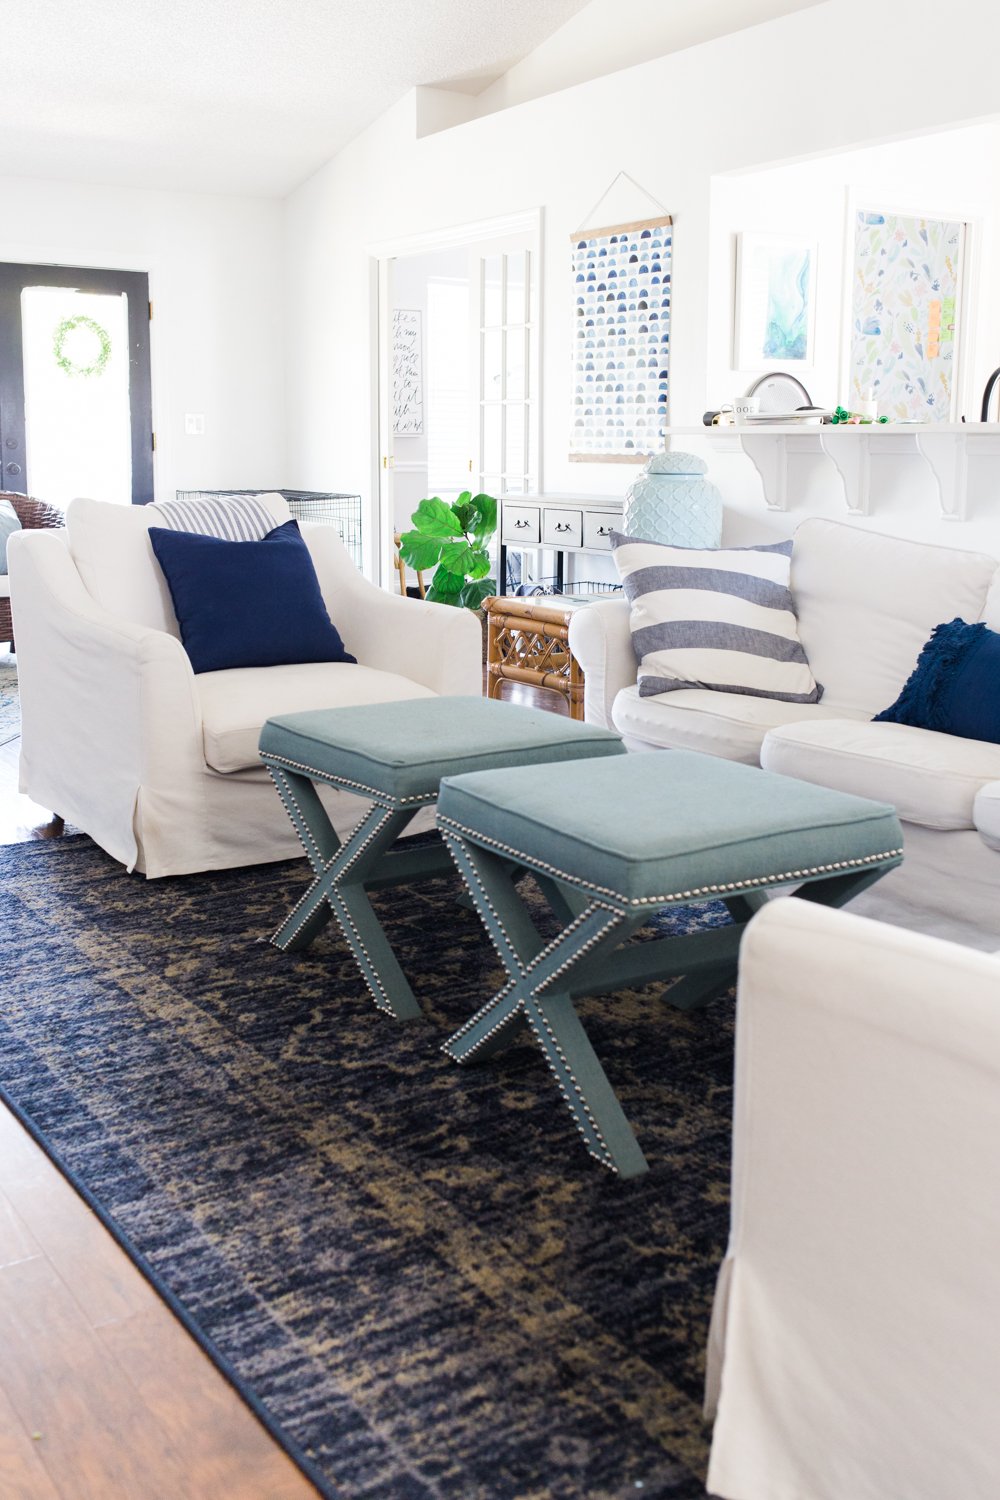
See more of our living room here. You can also find all the sources for this room on my HOME TOUR page.
Other projects in this space:
Why I have a white sofa with kids
If you want to pin this DIY Built-In Bookshelf Tutorial for later pin the image below!


You and Matt are a dream team!! The bookcase looks so, so good! I remember you trying to figure out a few months ago what you wanted to do. Love what you picked!
I don’t know about the dream team but we do make a good match up. I think of the hairbrained ideas and he executes! Thank you so much!!
Holy mackerel these look so good! I love how crisp they look and just so white and airy. Absolutely beautiful ??
Thanks girl!!! I love the finished product too!
Looks great! My hubby isn’t a carpenter, so I’d have to be the leader of this project and I’m not sure I have it in me. I may get brave one day though b/c the result looks great!! 🙂
Sarah, this is really an easy job – if you feel comfortable making mitered cuts, I would go for it. Actually, you could even get away with doing a craftsman style trim and leave out the crown molding to avoid the mitered cuts altogether. Thanks for stopping by!
This is brilliant, Chelsea! Thanks to you and Matt for the best blog ever.
Aw, Elizabeth! That is so sweet – thank you so much for reading!
Beautiful, wow!
Hi Tammy, thank you!! It’s the perfect solution for this blank space!
This tutorial is excellent and your finished product is ahhhhhhmazing! I love your sense of style – clean, bright, and just enough that’s quirky/unique to make it go above and beyond every time! Have a great day!!
Hi Sara, wow! Thank you so much for your sweet words. I’m so glad you like it 🙂
This is gorgeous! I’d love to copy this. 🙂 How did you make the doors for the bookshelves? I would do this for a modified pantry. Thank you!
Hi Karen, the doors are pre-made ones from IKEA I think they are called Oxberg. They also make doors that are full length as well.
Love it. How did you colour the outside of the shelves? With a brush and paint, or did you spray it? Without pretreatment? Never did something like that before, so I‘ve no idea. Thank you!
The shelves came white and the color matched our paint color (BM Chantilly Lace) pretty closely so we did not paint the exterior of the shelving unit.